Logging In to the Amazon Web Services Console
Description
Istio is an open source, multi-cloud service mesh, capable of performing intelligent traffic management. Istio’s traffic routing rules let you easily control the flow of traffic and API calls to and from deployed cluster resources.
In this Lab scenario, you’ll learn how to use Istio to perform traffic routing to a pair of sample web applications, V1 and V2, deployed into a Kubernetes cluster. You’ll first setup a traffic routing policy to balance traffic evenly (50/50) across both versions. You’ll test and confirm that the traffic is indeed evenly split before later updating the traffic routing policy to use a 80/20 split.
You’ll also learn how to deploy and setup Kiali, a web application that allows you to manage, visualise, and troubleshoot Istio service mesh configurations.
Learning Objectives
Upon completion of this Lab, you will be able to:
- Use Istio to perform traffic routing across a pair of versioned sample web applications
- Configure and deploy the following Istio custom resources:
- Gateway – a load balancer which operates at the mesh edge – allows inbound external traffic into the service mesh
- VirtualService – a set of traffic routing rules to apply when a host is addressed
- DestinationRule – policies that are applied to traffic intended for a service after routing has occurred
- Test, report, and validate the Istio service mesh based traffic routing using the curl command and your workstation’s browser
- Use Kiali to manage, visualise, and troubleshoot Istio service mesh configurations
Introduction
This lab experience involves Amazon Web Services (AWS), and you will use the AWS Management Console to complete the instructions in the following lab steps.
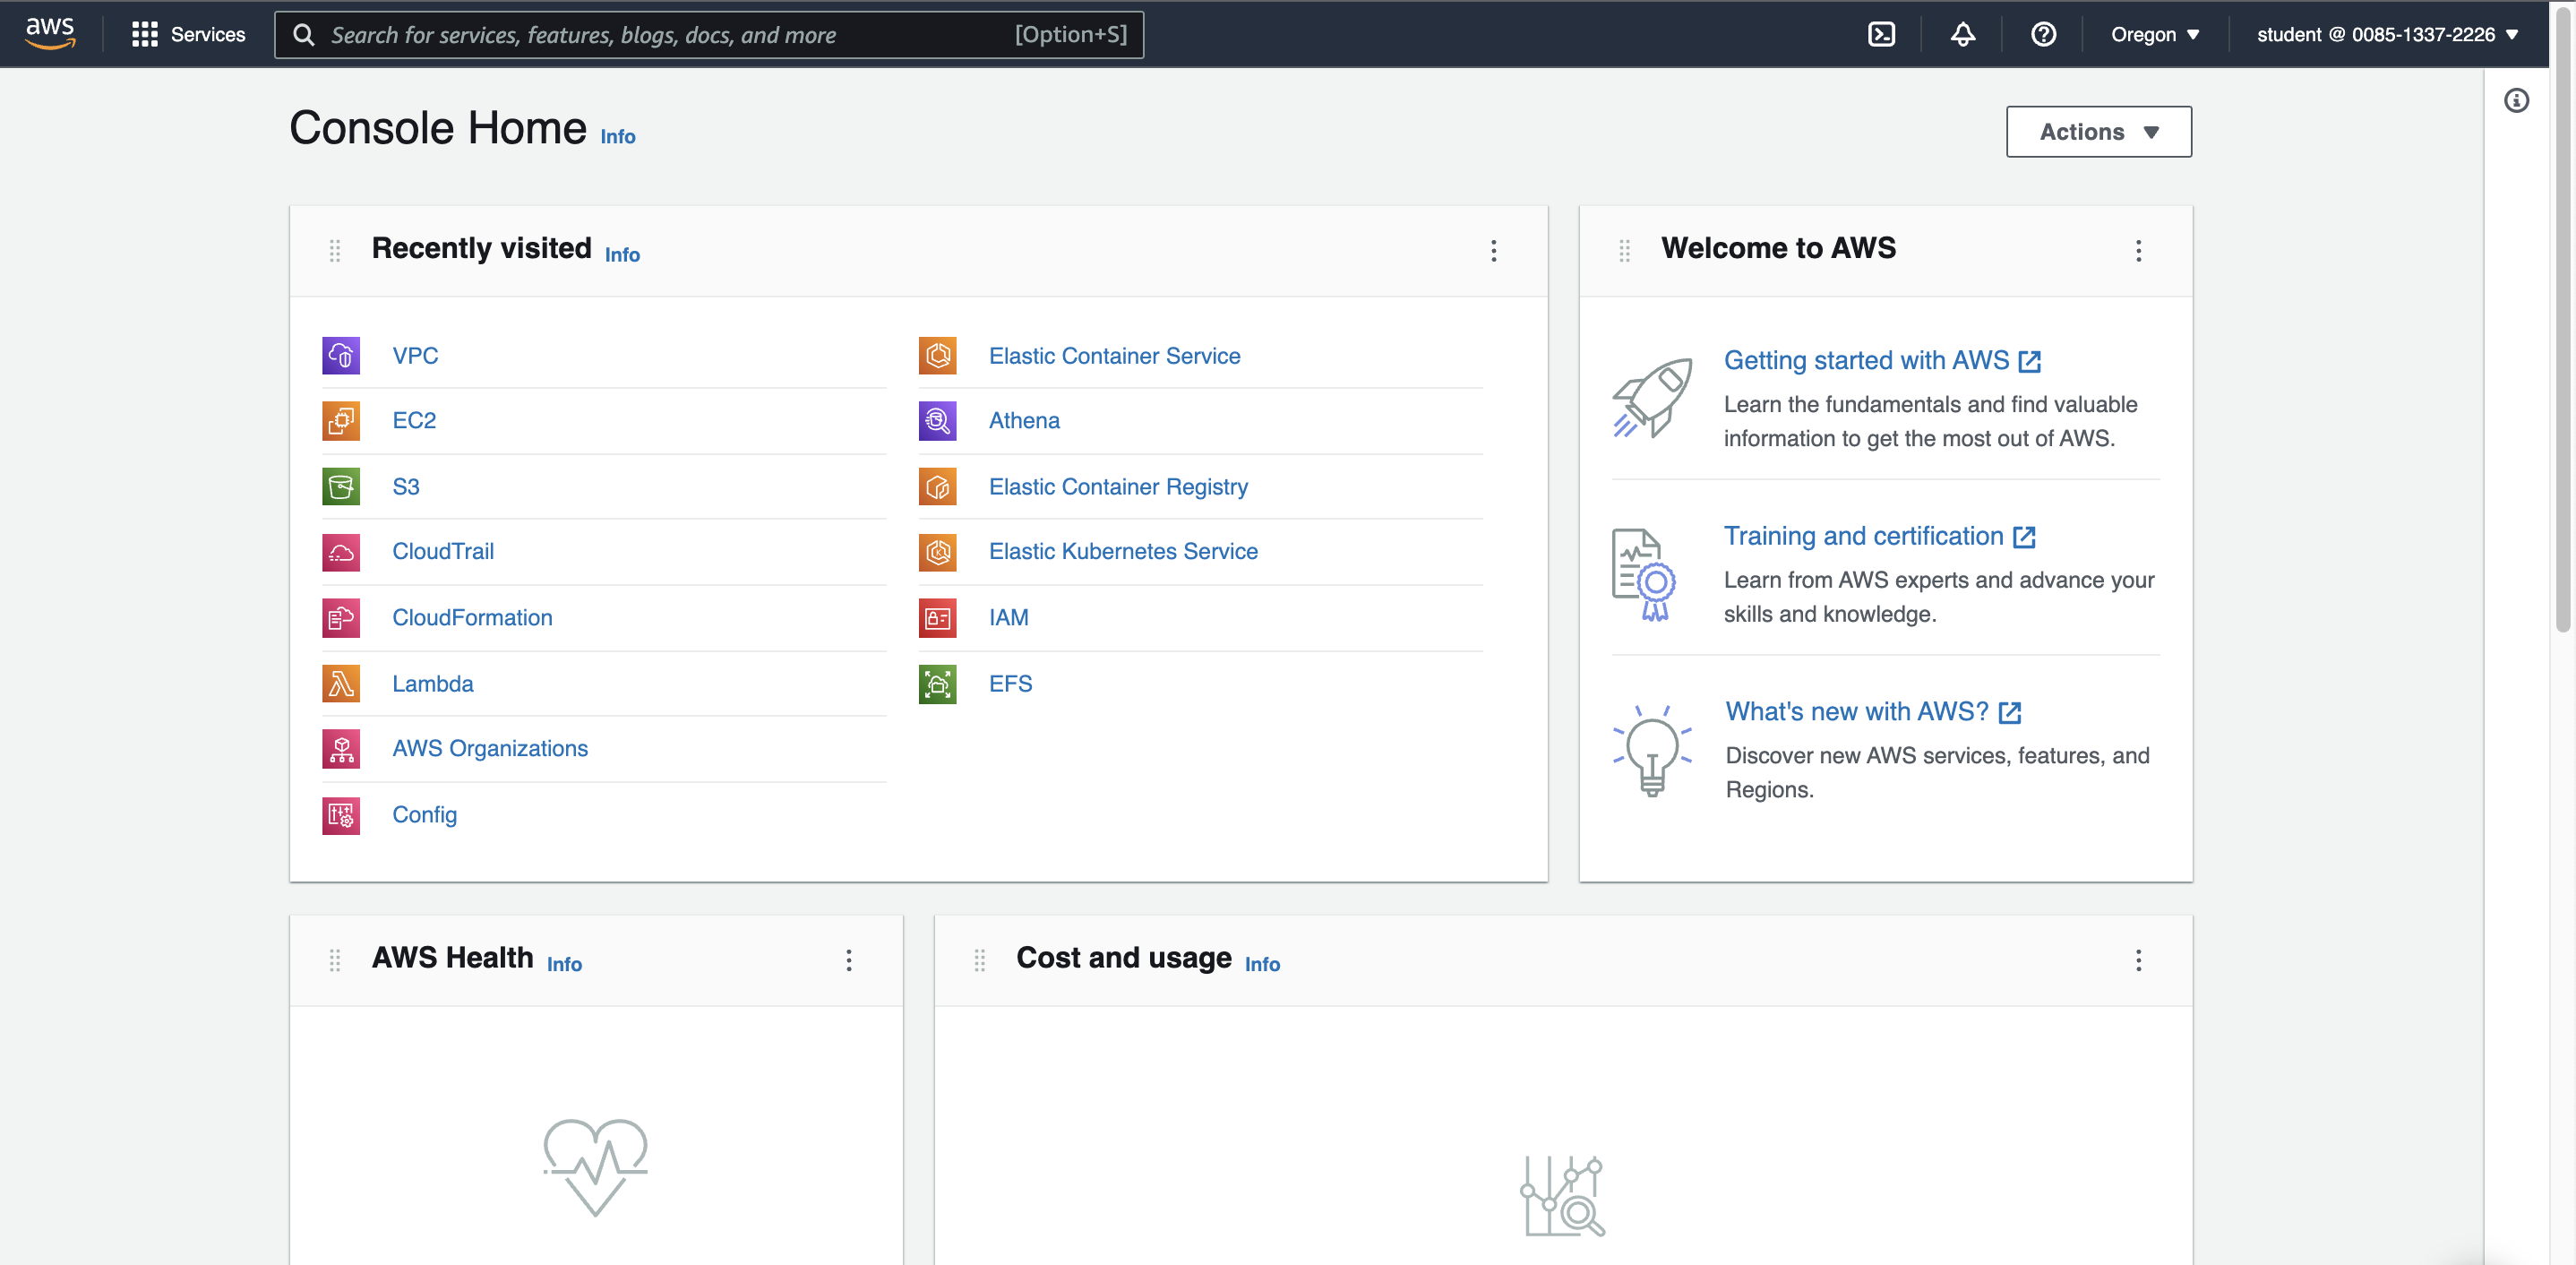
The AWS Management Console is a web control panel for managing all your AWS resources, from EC2 instances to SNS topics. The console enables cloud management for all aspects of the AWS account, including managing security credentials and even setting up new IAM Users.
Instructions
1. Click the following button to access the lab’s cloud environment:
This lab has automatically created a number of AWS resources for you – including an EKS cluster. Some resources may still be being provisioned in the background. The EKS cluster named Cluster-1 typically takes 15-25 minutes to reach Active status, and only then will the EC2 Worker Node instance named similar to Cluster-1-___-Node be provisioned and automatically joined to the cluster. In this lab step, you will review the lab starting state and ensure that all Amazon EKS-related resources have been created and are in the required operational status.
Note: Before moving on to the next lab step – review and confirm that all AWS resources itemized below have achieved their expected operational status.
FYI: The EKS cluster named Cluster-1 and the EC2 Worker Node instance named similar to Cluster-1-___-Node are automatically provisioned and joined using the EKSCTL, opens in a new tab tool. This happens in the background and is performed on the EC2 instance named eks.launch.instance (access to this instance is not required to complete this lab).
Instructions
1. In the AWS Management Console search bar, enter EKS, and click the EKS result under Services:

Click on the Clusters on the left and confirm that the EKS cluster (managed control plane) named Cluster-1 has been successfully created and is in an Active state.
Note: Please be patient, the EKS cluster takes approximately 15-25 minutes to be provisioned and reach the Active state:

2. Within the AWS EKS console click on Cluster-1 and review the Cluster info:
Note: The Kubernetes version is set during lab launch time, and maybe a version newer than that displayed below (>=1.31).

3. Within the AWS web console navigate to the AWS EC2 console:

4. Click Instances > Instances on the left-hand side menu:

Confirm that the following 3 x EC2 instances are in running status, can take up to 15-25 minutes:
- eks.launch.instance (used to launch EKS cluster and Worker Node) – running within 1-2 mins, SSH access to this instance is not required nor granted for this lab exercise
- cloudacademylabs (used to manage the EKS cluster using the
kubectlcommand) – running within 1-2 mins, SSH access to this instance is required and granted for this lab exercise - Cluster-1-___-Node (EKS cluster Worker Node) – running within 15-25 mins only after the EKS cluster has acquired Active status, SSH access to this instance is not required, but is granted for this lab exercise

Note: it typically takes 15-20 minutes for the Cluster-1-___-Node (EKS cluster Worker Node) instance to appear – as it only gets provisioned after the EKS cluster has reached the Active state.
Installing Kubernetes Management Tools and Utilities
1/1
1 out of 1 validations checks passed
Introduction
In preparation to manage your EKS Kubernetes cluster, you will need to install several Kubernetes management-related tools and utilities. In this lab step, you will install:
- kubectl: the Kubernetes command-line utility which is used for communicating with the Kubernetes Cluster API server
- awscli: used to query and retrieve your Amazon EKS cluster connection details, written into the
~/.kube/configfile
Instructions
1. Download the kubectl utility, give it executable permissions, and copy it into a directory that is part of the PATH environment variable:
1curl -O https://s3.us-west-2.amazonaws.com/amazon-eks/1.31.0/2024-09-12/bin/linux/amd64/kubectl2chmod +x ./kubectl3sudo cp ./kubectl /usr/local/bin4export PATH=/usr/local/bin:$PATH

2. Test the kubectl utility, ensuring that it can be called like so:
1kubectl version --client=true
You will see the version of the kubectl utility displayed.
3. Download the AWS CLI utility, give it executable permissions, and copy it into a directory that is part of the PATH environment variable:
1curl "https://awscli.amazonaws.com/awscli-exe-linux-x86_64.zip" -o "awscliv2.zip"2unzip awscliv2.zip3sudo ./aws/install

4. Test the aws utility, ensuring that it can be called like so:
1aws --version

5. Use the aws utility, to retrieve EKS Cluster name:
1EKS_CLUSTER_NAME=$(aws eks list-clusters --region us-west-2 --query clusters[0] --output text)2echo $EKS_CLUSTER_NAME

6. Use the aws utility to query and retrieve your Amazon EKS cluster connection details, saving them into the ~/.kube/config file. Enter the following command in the terminal:
1aws eks update-kubeconfig --name $EKS_CLUSTER_NAME --region us-west-2

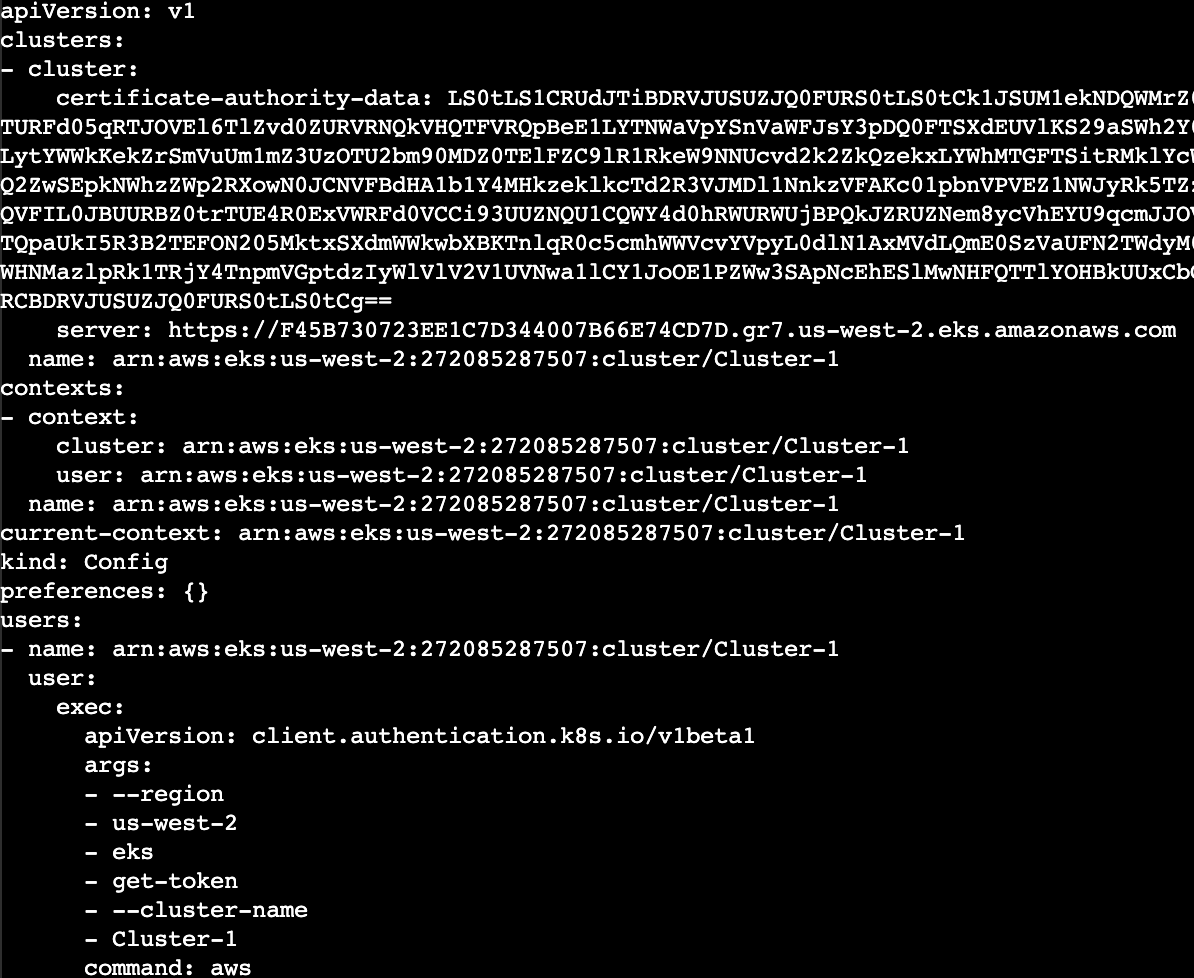
7. View the EKS Cluster connection details. This confirms that the EKS authentication credentials required to authenticate have been correctly copied into the ~/.kube/config file. Enter the following command in the terminal:
1cat ~/.kube/config
8. Use the kubectl utility to list the EKS Cluster Worker Nodes:
1kubectl get nodes

Note: If you see the following error, authorization to the cluster is still propagating to your instance role:

Ensure the cluster’s node group is ready and reissue the command periodically.
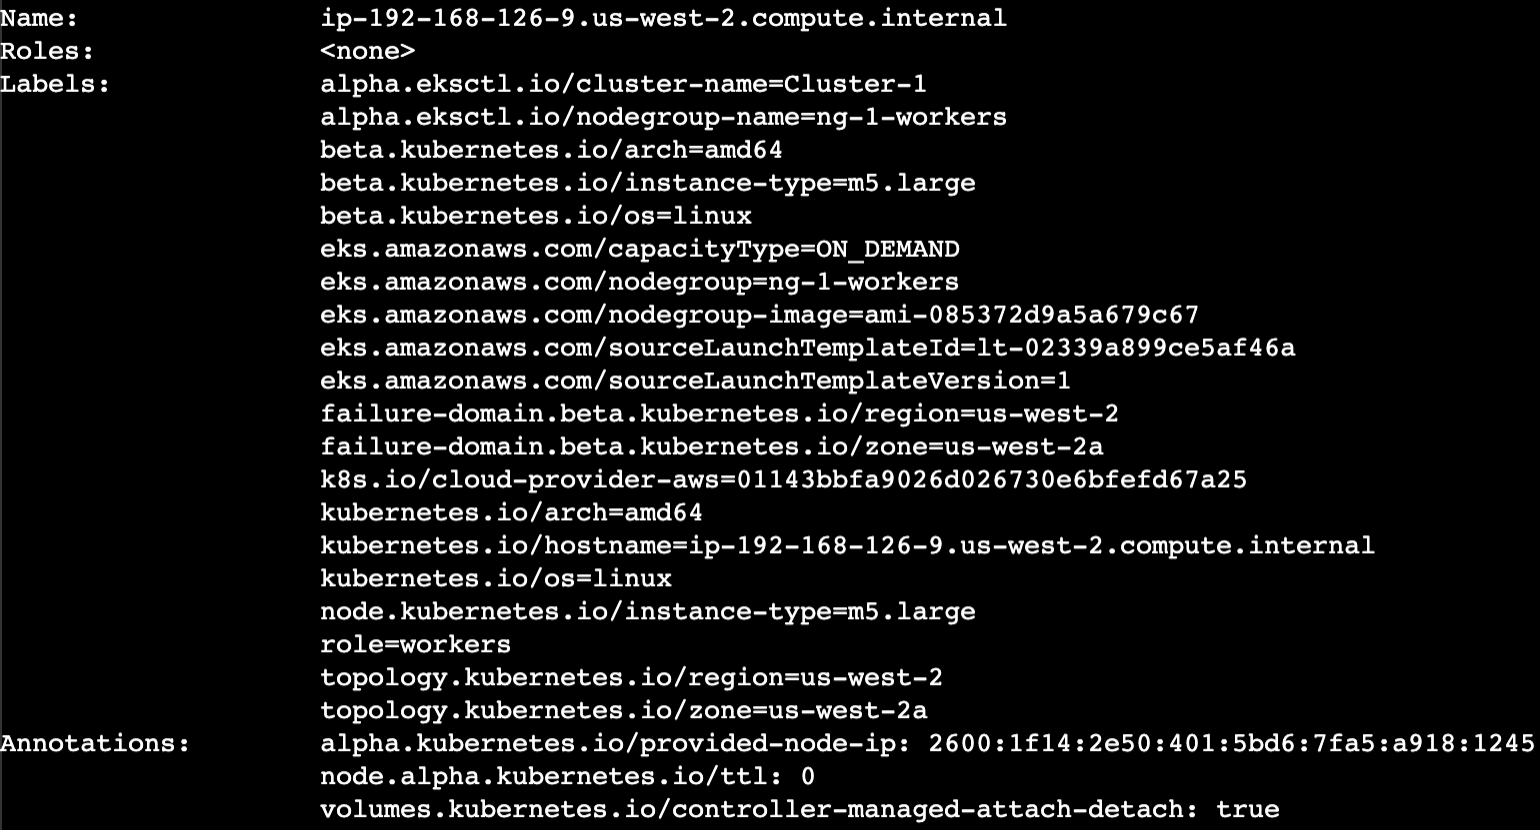
9. Use the kubectl utility to describe in more detail the EKS Cluster Worker Nodes:
1kubectl describe nodes
Summary
In this lab step, you installed and configured several Kubernetes management-related tools and utilities. You then performed a connection and authentication against your EKS Cluster and were able to determine the status of the single Worker Node provisioned within the cluster.
5
Traffic Routing using Istio
1/1
1 out of 1 validations checks passed
Introduction
In this Lab Step, you’ll start by installing Istio into the EKS cluster. Next, you’ll deploy a sample web app that provides two versions, V1 and V2. Istio-based Traffic Routing will then be configured to equally (50/50) distribute traffic across both versions of the sample web app. The Traffic Routing configuration will then be modified to redistribute the traffic using an 80/20 split. Finally, you’ll install Kiali to examine and monitor the traffic flows within the Istio service mesh for the sample web application.
Instructions
1. Install the Istio service mesh
1.1 Download the latest istioctl installation binary. In the terminal execute the following commands:
{
export ISTIO_VERSION="1.20.0"
mkdir -p ~/service-mesh && cd ~/service-mesh
curl -L https://istio.io/downloadIstio | ISTIO_VERSION=${ISTIO_VERSION} sh -
sudo mv -v istio-1.20.0/bin/istioctl /usr/local/bin/
}
1.2. Confirm that the istioctl executable is correctly installed. In the terminal execute the following command:
istioctl version --remote=false1.3. Examine the available Istio Profile list. In the terminal execute the following command:
1istioctl profile list
1.4. Install the Istio demo profile. In the terminal execute the following command:
1yes | istioctl install --set profile=demo
1.5. Confirm that the Istio Deployment resources have been completed successfully. In the terminal execute the following commands:
1{2kubectl wait --for=condition=available --timeout=300s deployment/istio-egressgateway -n istio-system3kubectl wait --for=condition=available --timeout=300s deployment/istio-ingressgateway -n istio-system4kubectl wait --for=condition=available --timeout=300s deployment/istiod -n istio-system5echo6kubectl get deploy -n istio-system7}
2. Deploy the sample web application
2.1 Create a new webapp namespace, and set it as the current namespace. In the terminal execute the following command:
1{2kubectl create ns webapp3kubectl config set-context $(kubectl config current-context) --namespace=webapp4}
2.2 Tag the webapp namespace with the istio-injection=enabled label to enable automatic Sidecar injection for pods deployed into the webapp namespace. In the terminal execute the following command:
1kubectl label namespace webapp istio-injection=enabled
2.3 Configure the webapp namespace to now be your default namespace. In the terminal execute the following command:
1kubectl config set-context --current --namespace webapp
2.4 Create 2 ConfigMap resources, one for each version, V1 and V2 of the sample web app. In the terminal execute the following command:
cat << EOF | kubectl apply -f -
apiVersion: v1
kind: ConfigMap
metadata:
  name: webapp-cfg-v1
  namespace: webapp
  labels:
    version: v1
data:
  message: "CloudAcademy.v1.0.0"
  bgcolor: "yellow"
---
apiVersion: v1
kind: ConfigMap
metadata:
  name: webapp-cfg-v2
  namespace: webapp
  labels:
    version: v2
data:
  message: "CloudAcademy.v2.0.0"
  bgcolor: "cyan"
EOF
2.5 Create the V1 sample webapp frontend Deployment resource. The V1 version of the webapp will be coloured yellow and present the message CloudAcademy.v1.0.0. In the terminal execute the following command:
cat << EOF | kubectl apply -f -
apiVersion: apps/v1
kind: Deployment
metadata:
  name: frontend-v1
  namespace: webapp
  labels:
    role: frontend
    version: v1
spec:
  replicas: 2
  selector:
    matchLabels:
      role: frontend
      version: v1
  template:
    metadata:
      labels:
        role: frontend
        version: v1
    spec:
      containers:
      - name: webapp
        image: cloudacademydevops/webappecho:latest
        imagePullPolicy: IfNotPresent
        command: ["/go/bin/webapp"]
        ports:
        - containerPort: 8080
        env:
        - name: MESSAGE
          valueFrom:
            configMapKeyRef:
              name: webapp-cfg-v1
              key: message
        - name: BACKGROUND_COLOR
          valueFrom:
            configMapKeyRef:
              name: webapp-cfg-v1
              key: bgcolor
EOF
2.6 Create the V2 sample webapp frontend Deployment resource. The V2 version of the webapp will be coloured cyan and present the message CloudAcademy.v2.0.0. In the terminal execute the following command:
cat << EOF | kubectl apply -f -
apiVersion: apps/v1
kind: Deployment
metadata:
  name: frontend-v2
  namespace: webapp
  labels:
    role: frontend
    version: v2
spec:
  replicas: 2
  selector:
    matchLabels:
      role: frontend
      version: v2
  template:
    metadata:
      labels:
        role: frontend
        version: v2
    spec:
      containers:
      - name: webapp
        image: cloudacademydevops/webappecho:latest
        imagePullPolicy: IfNotPresent
        command: ["/go/bin/webapp"]
        ports:
        - containerPort: 8080
        env:
        - name: MESSAGE
          valueFrom:
            configMapKeyRef:
              name: webapp-cfg-v2
              key: message
        - name: BACKGROUND_COLOR
          valueFrom:
            configMapKeyRef:
              name: webapp-cfg-v2
              key: bgcolor
EOF
2.7 Create a single Service resource for the web app frontend pods. In the terminal execute the following command:
cat << EOF | kubectl apply -f -
apiVersion: v1
kind: Service
metadata:
  name: frontend
  namespace: webapp
  labels:
    role: frontend
spec:
  ports:
  - name: http
    port: 80
    protocol: TCP
    targetPort: 8080
  selector:
    role: frontend
EOF
2.8. Confirm that all of the sample web app resources have been created successfully within the cluster. In the terminal execute the following command:
1kubectl get all -n webapp
3. Configure the Istio Traffic Routing policies
3.1 Create a Gateway resource to allow ingress traffic from the Internet. In the terminal execute the following command:
cat << EOF | kubectl apply -f -
apiVersion: networking.istio.io/v1alpha3
kind: Gateway
metadata:
  name: ca-gateway
spec:
  selector:
    istio: ingressgateway
  servers:
  - port:
      number: 80
      name: http
      protocol: HTTP
    hosts:
    - "*"
EOF
3.2 Create a VirtualService resource to perform a 50/50 traffic split across versions V1 and V2 of the sample web app. In the terminal execute the following command:
cat << EOF | kubectl apply -f -
apiVersion: networking.istio.io/v1alpha3
kind: VirtualService
metadata:
  name: cloudacademy
spec:
  hosts:
  - "*"
  gateways:
  - ca-gateway
  http:
  - route:
    - destination:
        host: frontend.webapp.svc.cluster.local
        subset: v1
        port:
          number: 80
      weight: 50
    - destination:
        host: frontend.webapp.svc.cluster.local
        subset: v2
        port:
          number: 80
      weight: 50
EOF
3.3 Create a DestinationRule policy to specify how traffic is handled behind the VirtualService once routed. In the terminal execute the following command:
cat << EOF | kubectl apply -f -
apiVersion: networking.istio.io/v1alpha3
kind: DestinationRule
metadata:
  name: frontend
spec:
  host: frontend.webapp.svc.cluster.local
  trafficPolicy:
    loadBalancer:
      simple: LEAST_CONN
  subsets:
  - name: v1
    labels:
      version: v1
    trafficPolicy:
      loadBalancer:
        simple: ROUND_ROBIN
  - name: v2
    labels:
      version: v2
    trafficPolicy:
      loadBalancer:
        simple: ROUND_ROBIN
EOF
4. Test the 50/50 Traffic Routing policy
4.1 Retrieve the Istio Gateway Ingress ELB FQDN. In the terminal execute the following commands:
{
ELB=$(kubectl -n istio-system get service istio-ingressgateway -o jsonpath='{.status.loadBalancer.ingress[0].hostname}')
echo ELB=$ELB
curl -I $ELB
}
4.2 Generate a URL for browsing. In the terminal execute the following command:
echo http://$ELB4.3 Using your own workstation’s browser – browse to the sample web app ELB URL provided in the output of the previous instruction:
Note: At this stage, both V1 (yellow) and V2 (cyan) versions of the sample web application are being load balanced – therefore either version could be returned
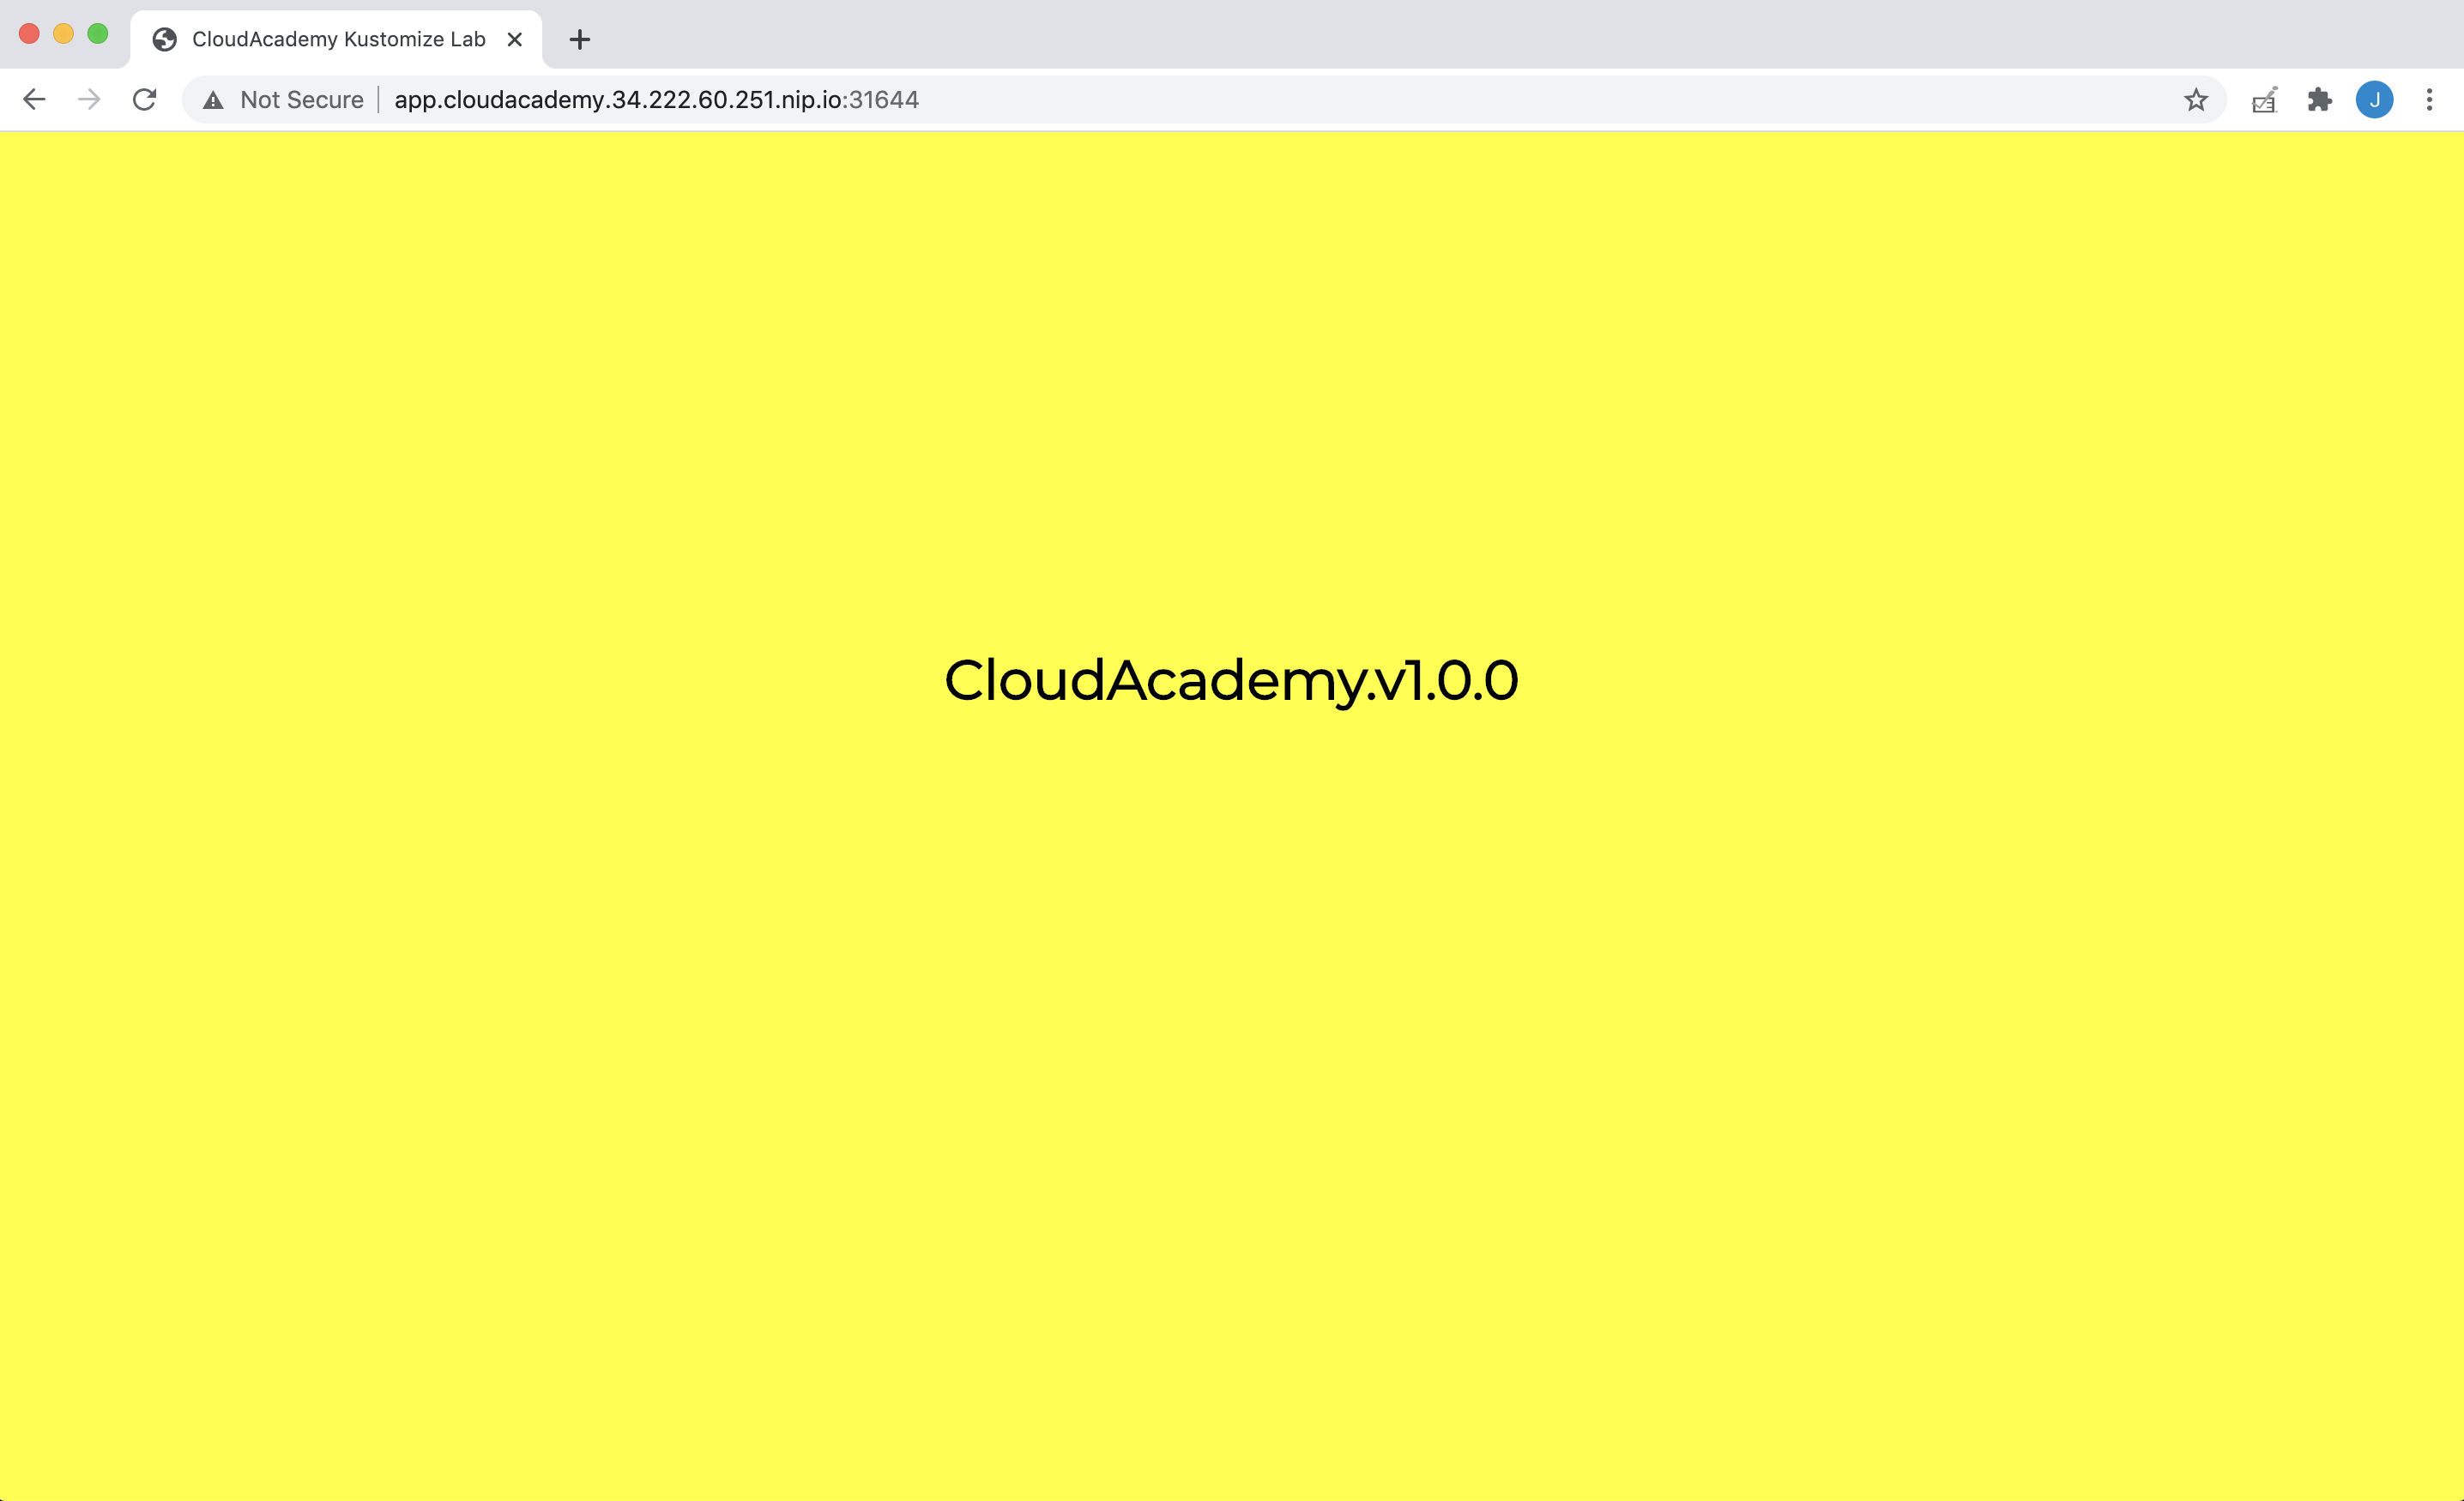
4.4. Refresh the current URL repeatedly. You should see alternate versions balanced (approx 50/50) across the V1 and V2 versions of the sample web application:
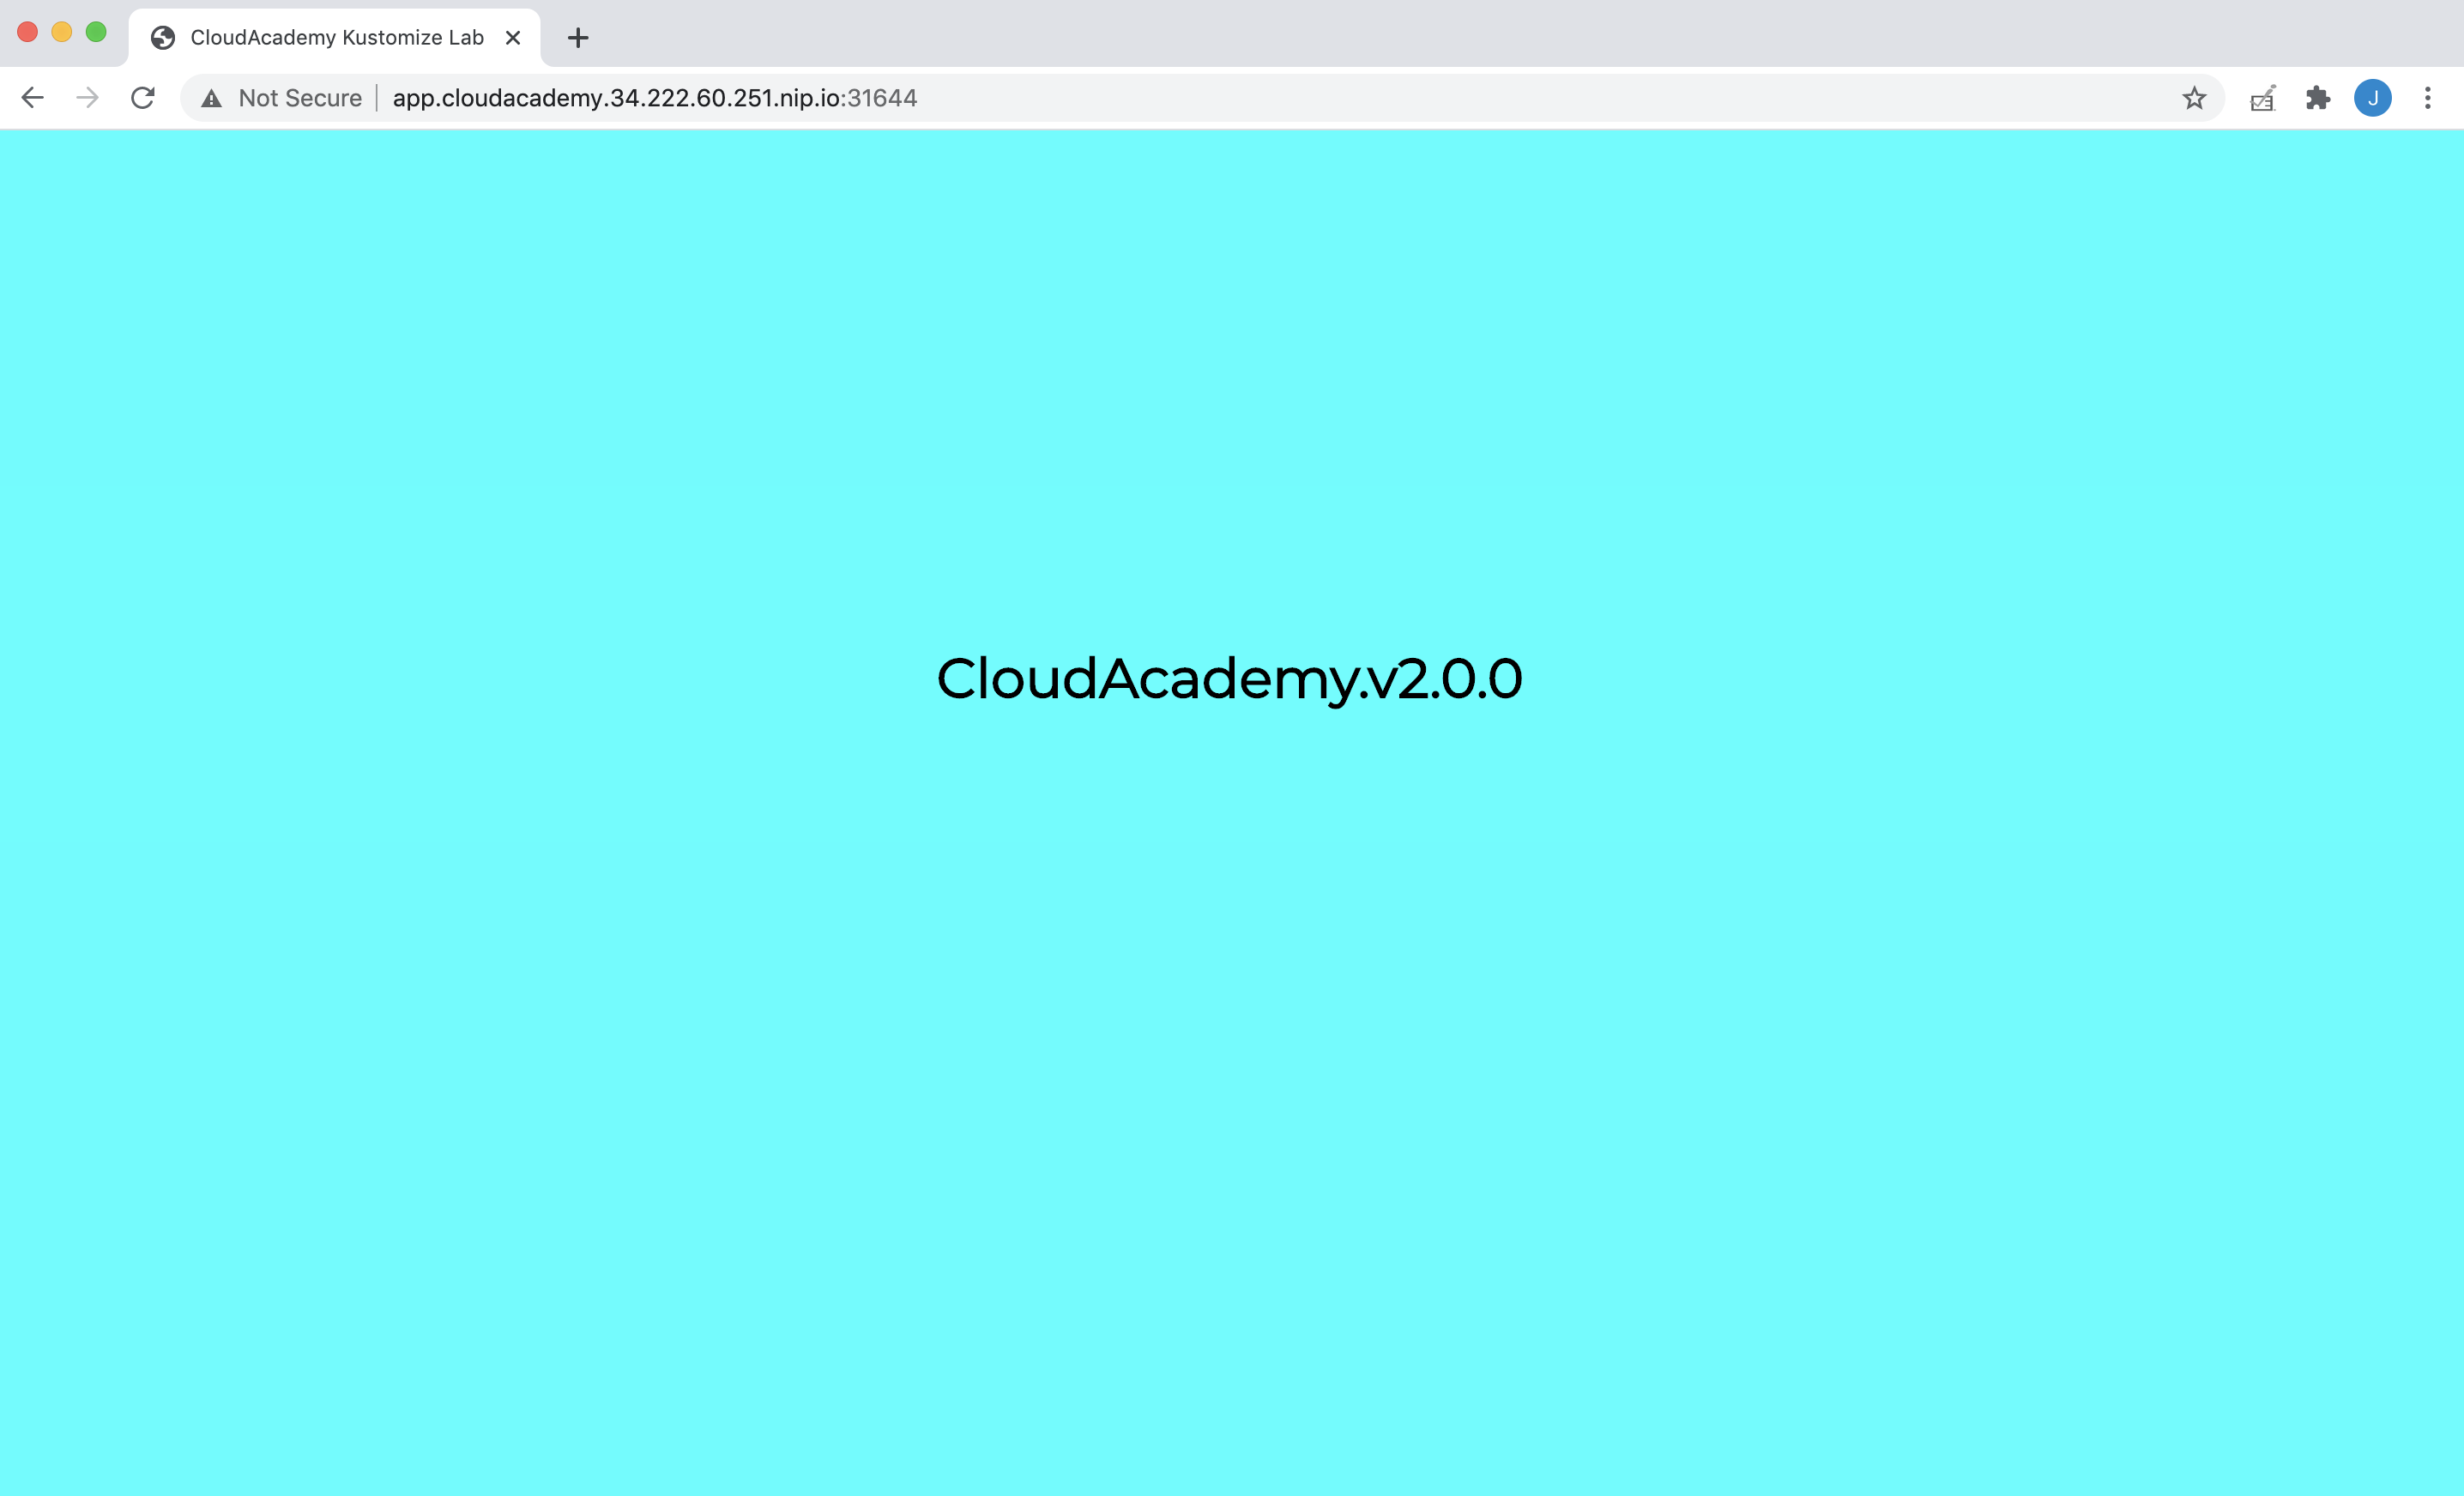
Note: Keep this browser tab open. You’ll use it later on.
5. Test and record the 50/50 Traffic Routing splitting.
5.1 Run the following command to quickly generate and log 100 requests. In the terminal execute the following command:
1for i in {1..100}; do curl -s $ELB; done | grep CloudAcademy.v > web.log
5.2 Display the contents of the generated web.log file, execute the following command:
1cat web.log
Note: The exact distribution of traffic to versions V1 and V2 will differ (but should be approximately 50% to each).
5.3 Count the number of requests that were routed to the V1 version of the sample web application. In the terminal execute the following command:
1grep v1.0.0 web.log | wc -l
Note: Your count returned will likely differ to that shown in the above screenshot
5.4 Count the number of requests that were routed to the V2 version of the sample web application. In the terminal execute the following command:
1grep v2.0.0 web.log | wc -l
Note: Your count returned will likely differ to that shown in the above screenshot
6. Update the previously deployed traffic routing policy so that it distributes traffic 80% to V1 and 20% to V2.
6.1 Update and redeploy the VirtualService resource with a 80/20 traffic split. In the terminal execute the following command:
cat << EOF | kubectl apply -f -
apiVersion: networking.istio.io/v1alpha3
kind: VirtualService
metadata:
  name: cloudacademy
spec:
  hosts:
  - "*"
  gateways:
  - ca-gateway
  http:
  - route:
    - destination:
        host: frontend.webapp.svc.cluster.local
        subset: v1
        port:
          number: 80
      weight: 80
    - destination:
        host: frontend.webapp.svc.cluster.local
        subset: v2
        port:
          number: 80
      weight: 20
EOF
6.2 Confirm that the Istio VirtualService has indeed been updated with the new 80/20 weights. In the terminal execute the following command:
1kubectl describe virtualservice cloudacademy | grep Weight
7. Test the 80/20 Traffic Routing policy
7.1 Return to your browser tab with the previously loaded sample web application and refresh the page:

7.2. Refresh the current URL repeatedly. You should see alternate versions, V1 and V2, of the sample web application. Confirm that approximately 80% of requests are responded to by V1 (yellow) and the remaining 20% by V2 (cyan):

Note: The exact distribution of traffic to versions V1 and V2 will differ (but should be approximately 80% for V1 and 20% for V2).
8. Test and record the 80/20 Traffic Routing splitting.
8.1 Returning back to the terminal session, rerun the following command to again quickly generate and log 100 requests. In the terminal execute the following command:
1for i in {1..100}; do curl -s $ELB; done | grep CloudAcademy.v > web.log
8.2 Count the number of requests that were routed to the V1 version of the sample web application. In the terminal execute the following command:
1grep v1.0.0 web.log | wc -l
Note: Your count returned will likely differ from that shown in the above screenshot.
8.3. Count the number of requests that were routed to the V2 version of the sample web application. In the terminal execute the following command:
1grep v2.0.0 web.log | wc -l
Note: Your count returned will likely differ from that shown in the above screenshot.
9. Deploy and setup Kiali for managing, monitoring, and visualizations of the Istio service mesh
9.1 Install the following set of Istio addons. In the terminal execute the following commands:
1{2kubectl apply -f https://raw.githubusercontent.com/istio/istio/release-1.11/samples/addons/jaeger.yaml3kubectl apply -f https://raw.githubusercontent.com/istio/istio/release-1.11/samples/addons/kiali.yaml4kubectl apply -f https://raw.githubusercontent.com/istio/istio/release-1.11/samples/addons/prometheus.yaml5kubectl apply -f https://raw.githubusercontent.com/istio/istio/release-1.11/samples/addons/grafana.yaml6}
9.2. Expose the Kiali web administration console. In the terminal execute the following command:
1kubectl expose deployment kiali --namespace istio-system --name=kiali-loadbalancer --type=LoadBalancer --port=80 --target-port=20001
9.3. Retrieve the Istio Gateway Ingress ELB FQDN, confirming that it resolves and connects successfully. In the terminal execute the following commands:
{
KIALI_ELB_FQDN=$(kubectl -n istio-system get service kiali-loadbalancer -o jsonpath='{.status.loadBalancer.ingress[0].hostname}')
echo KIALI_ELB_FQDN=$KIALI_ELB_FQDN
until nslookup $KIALI_ELB_FQDN >/dev/null 2>&1; do sleep 2 && echo waiting for DNS to propagate...; done
curl -I $KIALI_ELB_FQDN
echo
}
9.4. Generate the Istio Gateway Ingress ELB URL for browsing. In the terminal execute the following command:
echo http://$KIALI_ELB_FQDN10. Use the Kiali web console to monitor the Istio service mesh
10.1 Using your own workstation’s browser – open the Kiali web console using the URL provided in the output of the previous instruction:
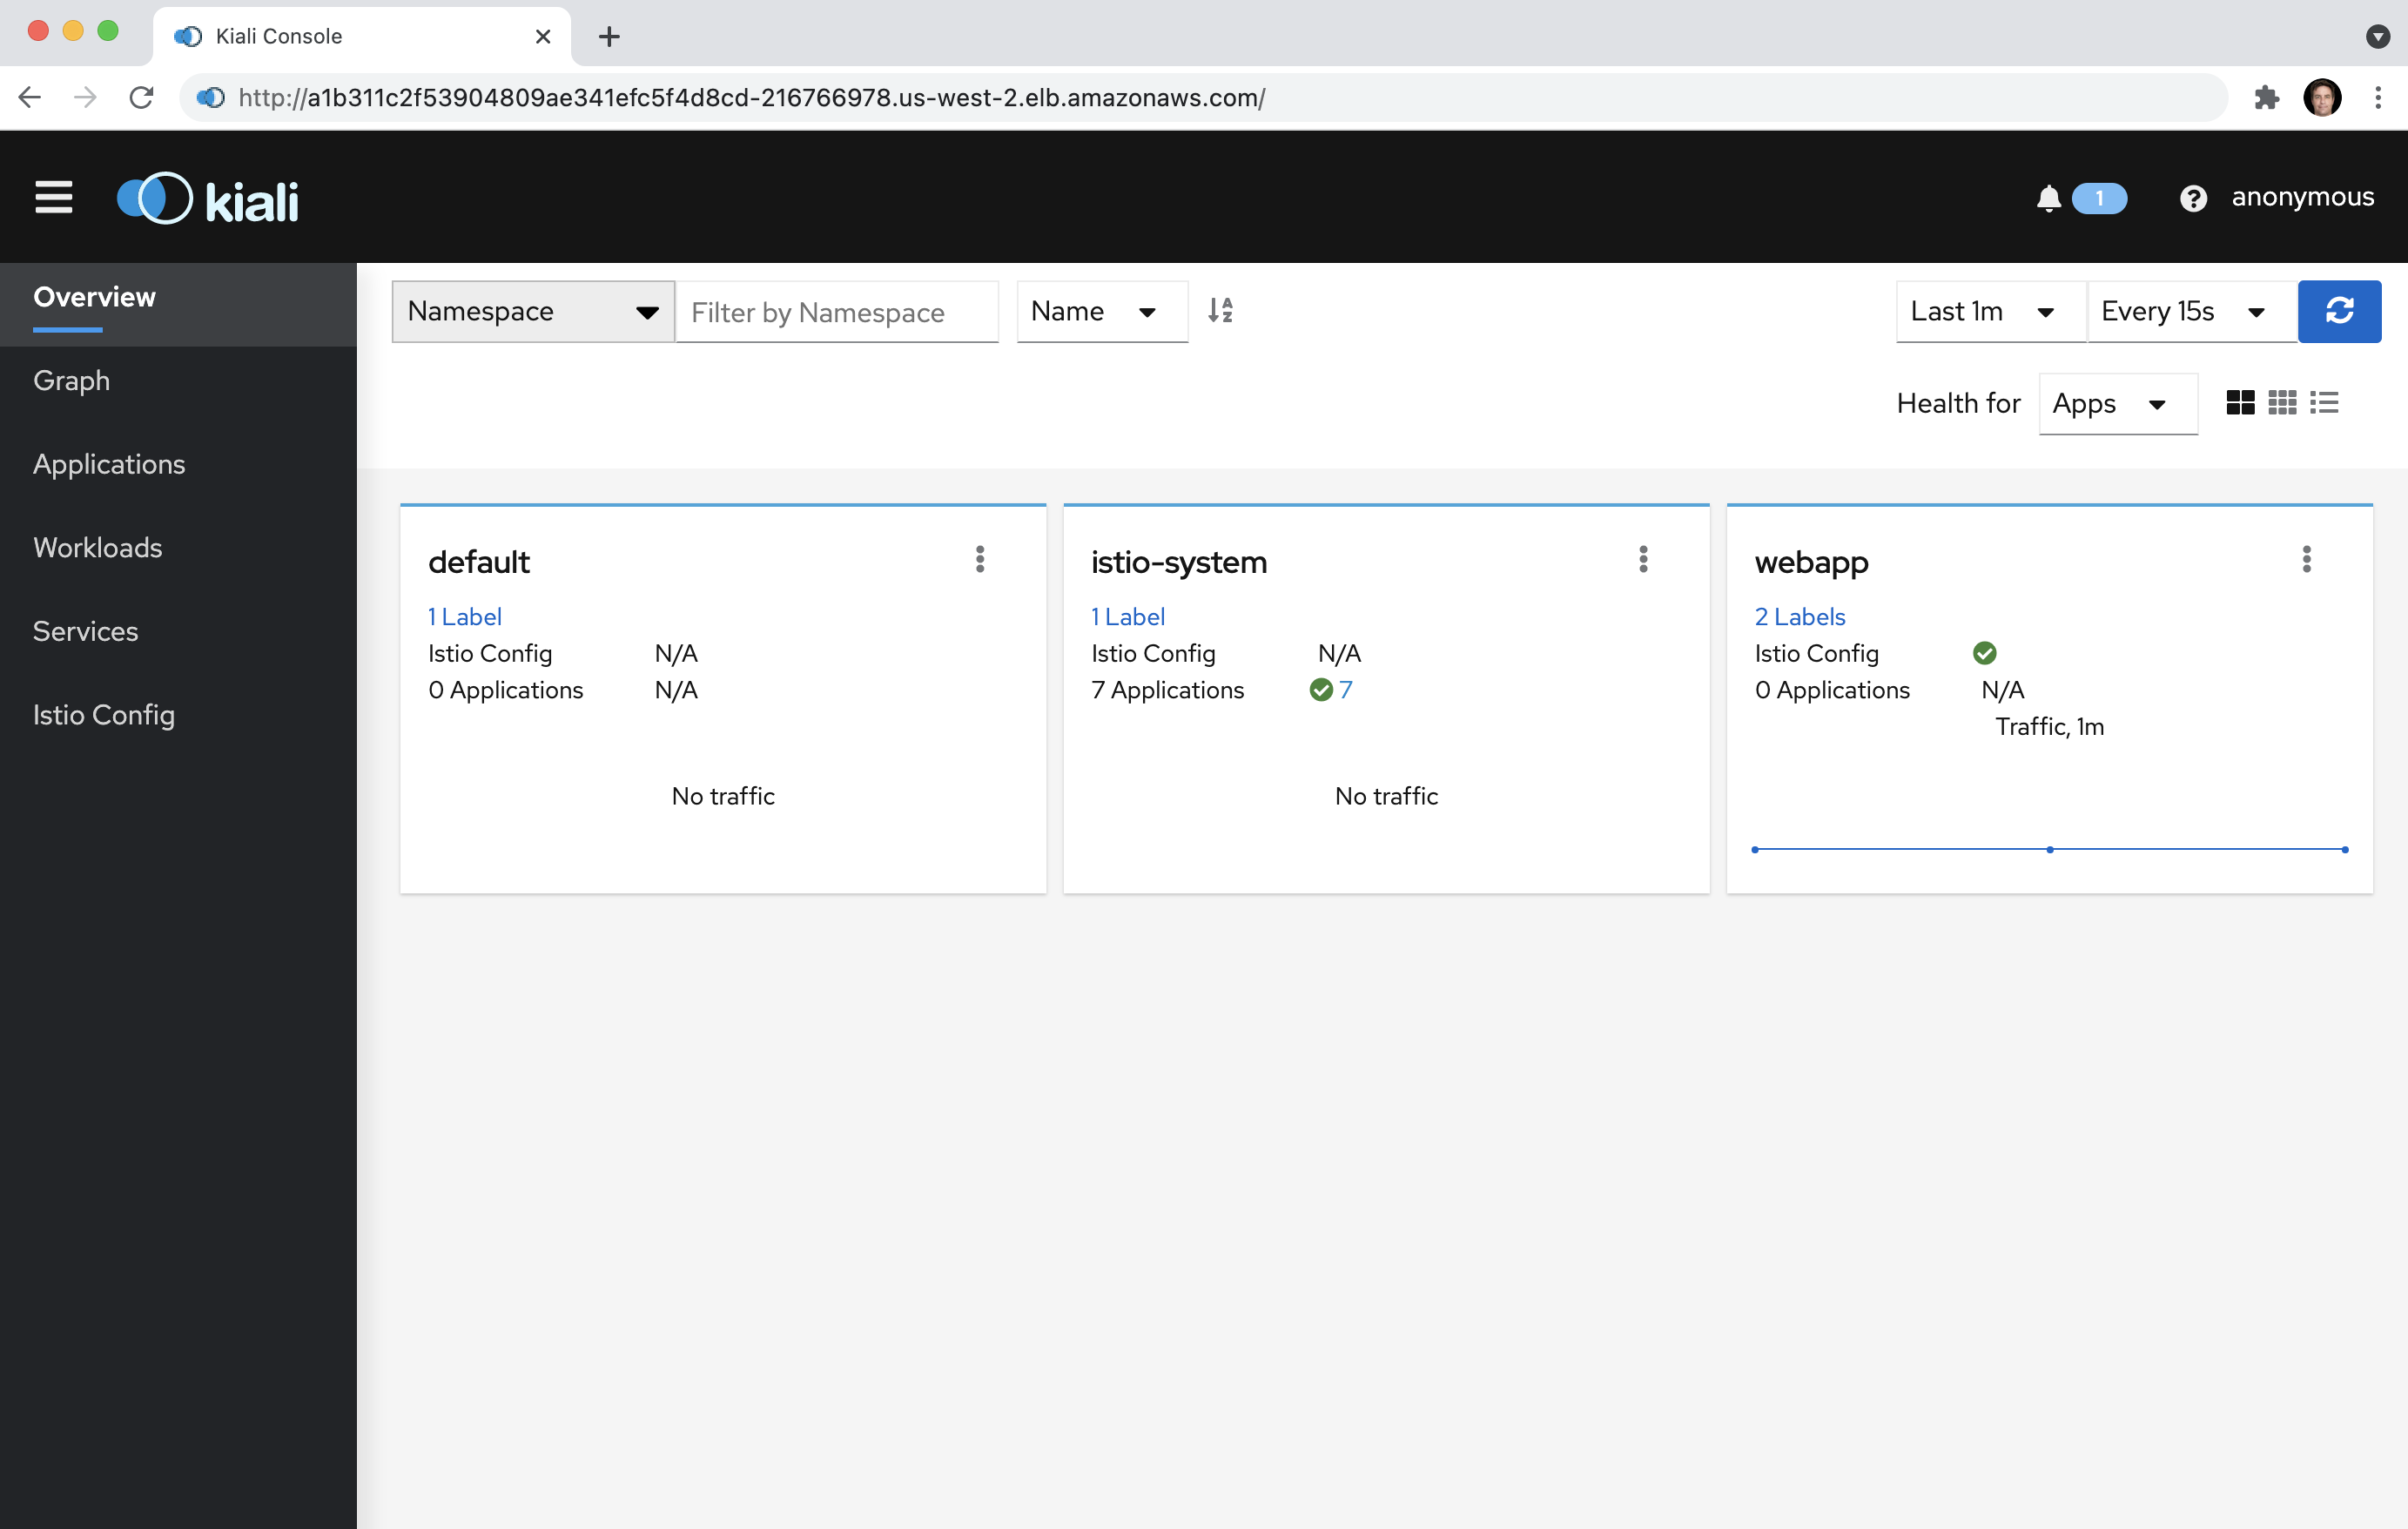
10.2 Click on the web app menu button and select the Graph option:
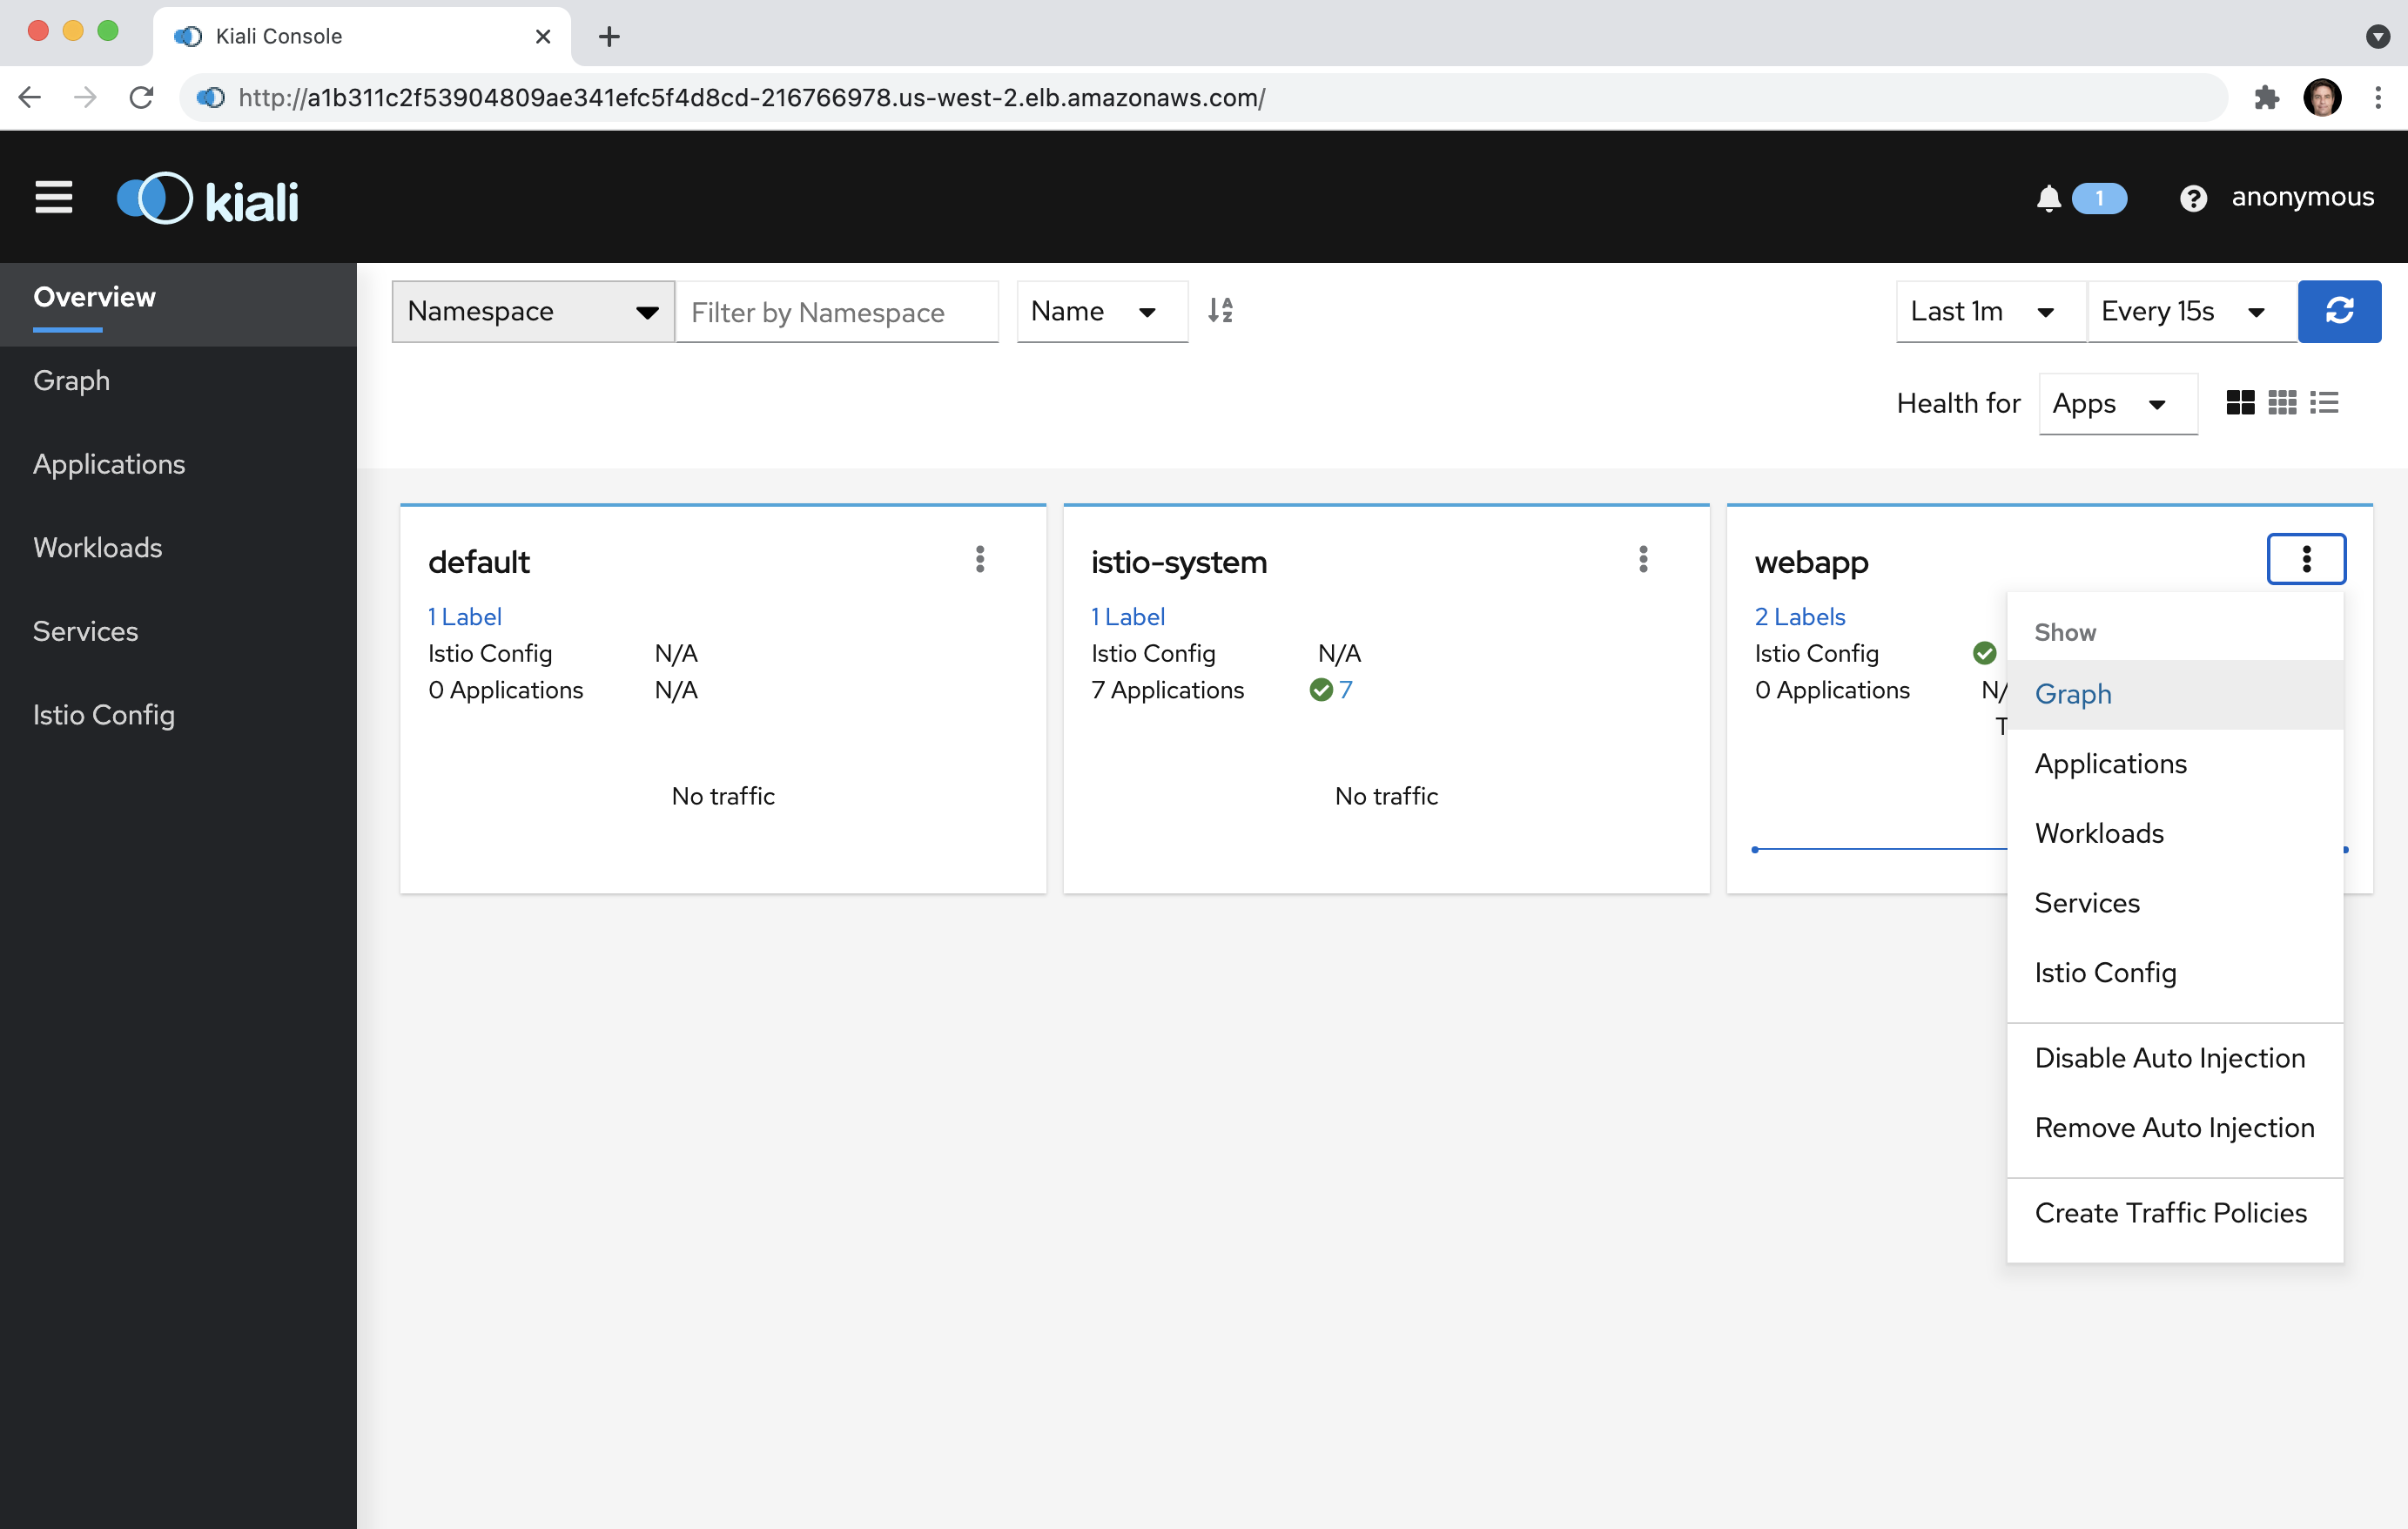
10.3 Click on the Display Idle Nodes button to render the current web app service mesh configuration within Istio:
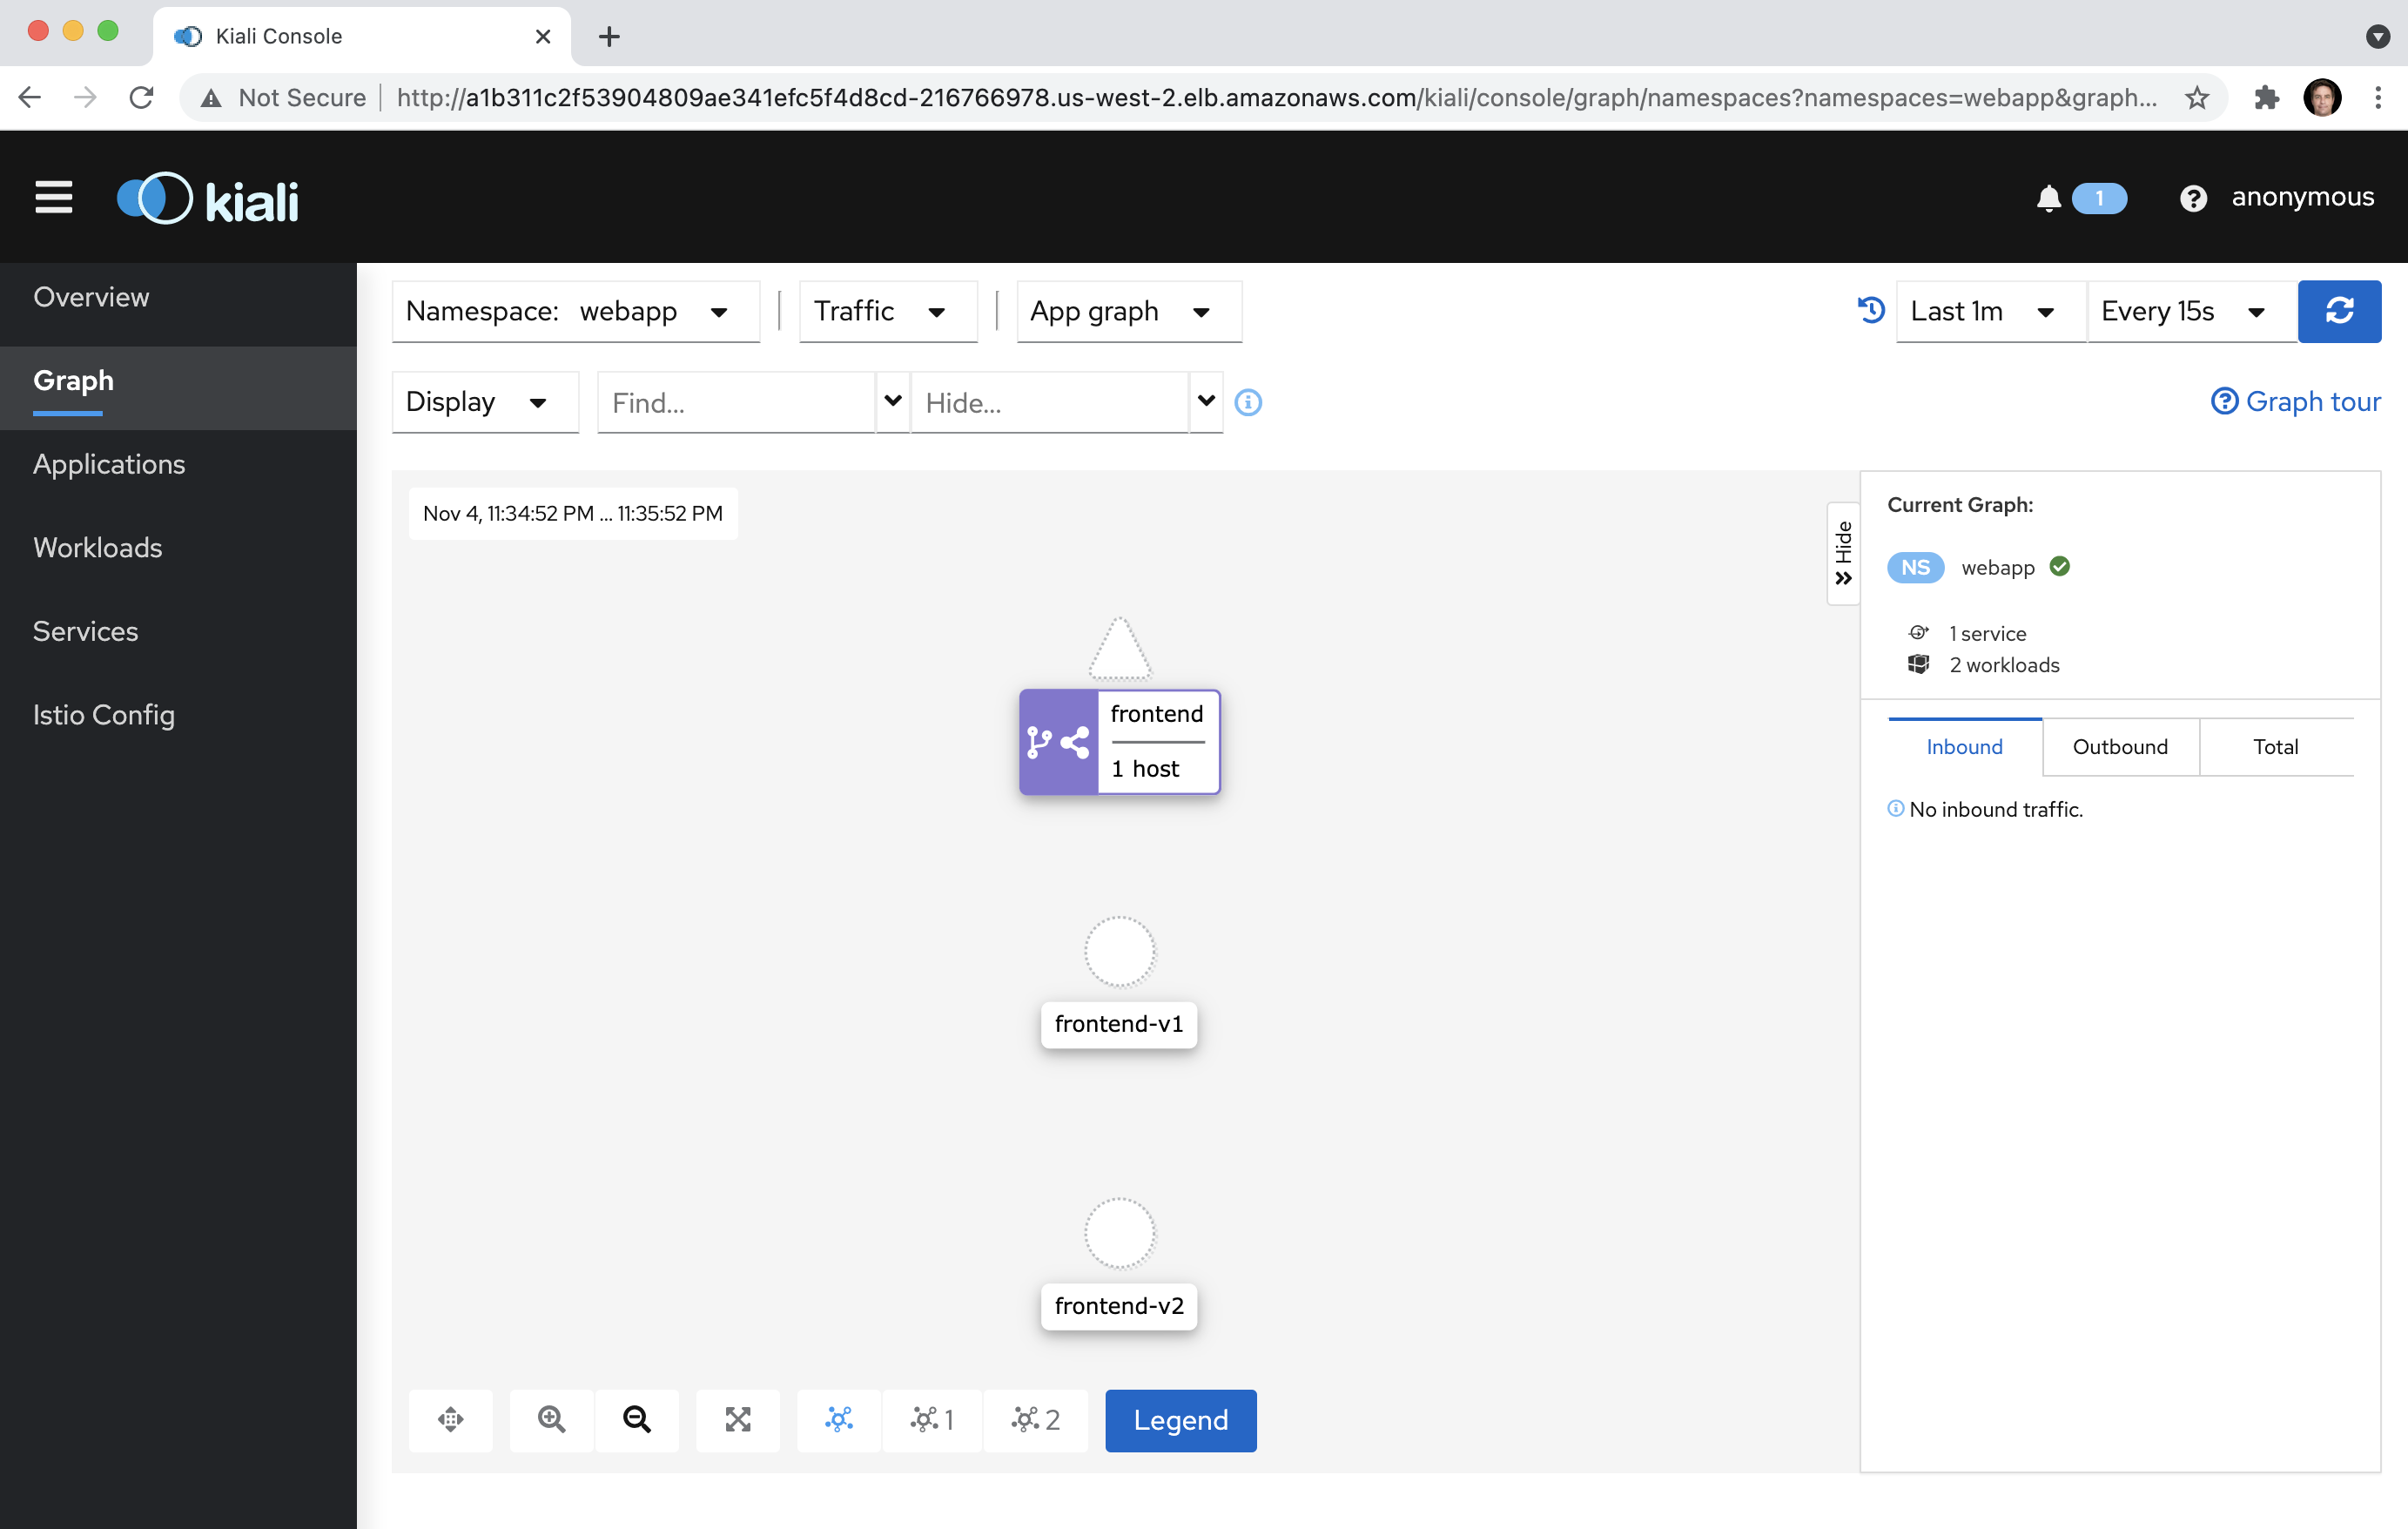
10.4 Within the Display dropdown menu, enable the Traffic Animation option:
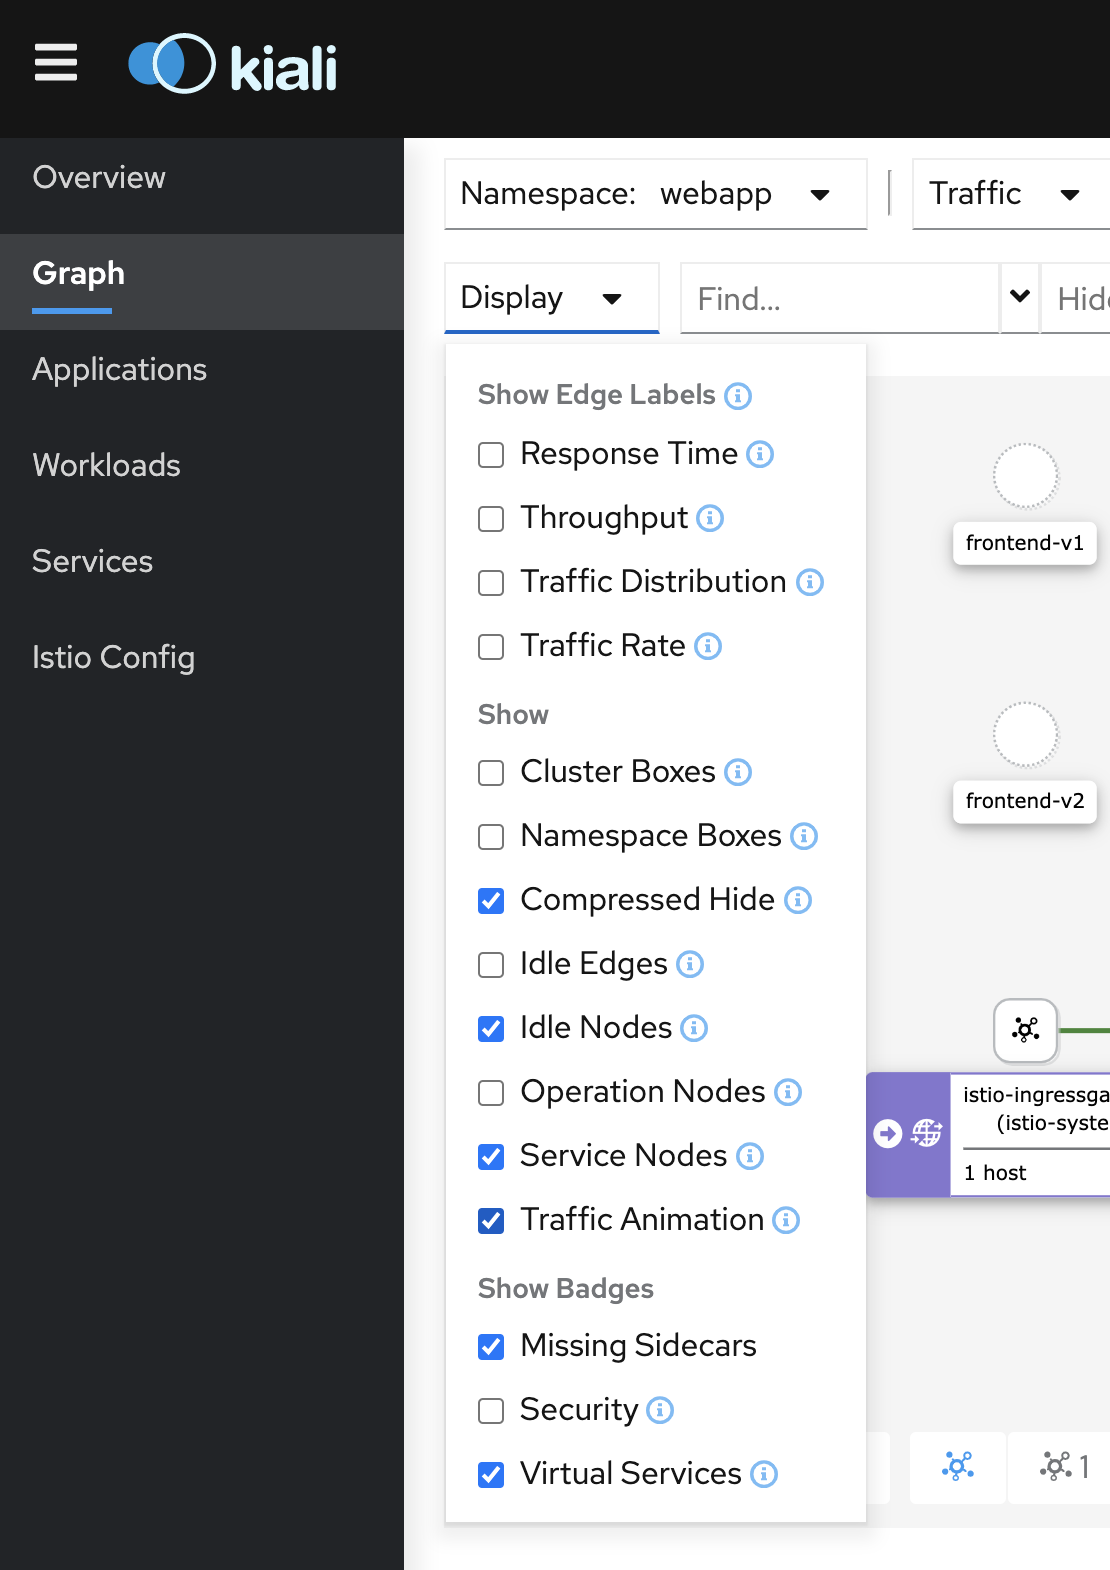
10.5. Kiali requires traffic to be sent to the nodes to trigger the traffic flow animations. In the terminal execute the following command:
while true; do curl -vs $ELB > /dev/null && sleep 2 && echo ==================; doneNote: Use the CTRL-C key sequence to end the command above
10.6 Return to your browser and confirm that Kiali is now animating traffic flow between the sample web app nodes:
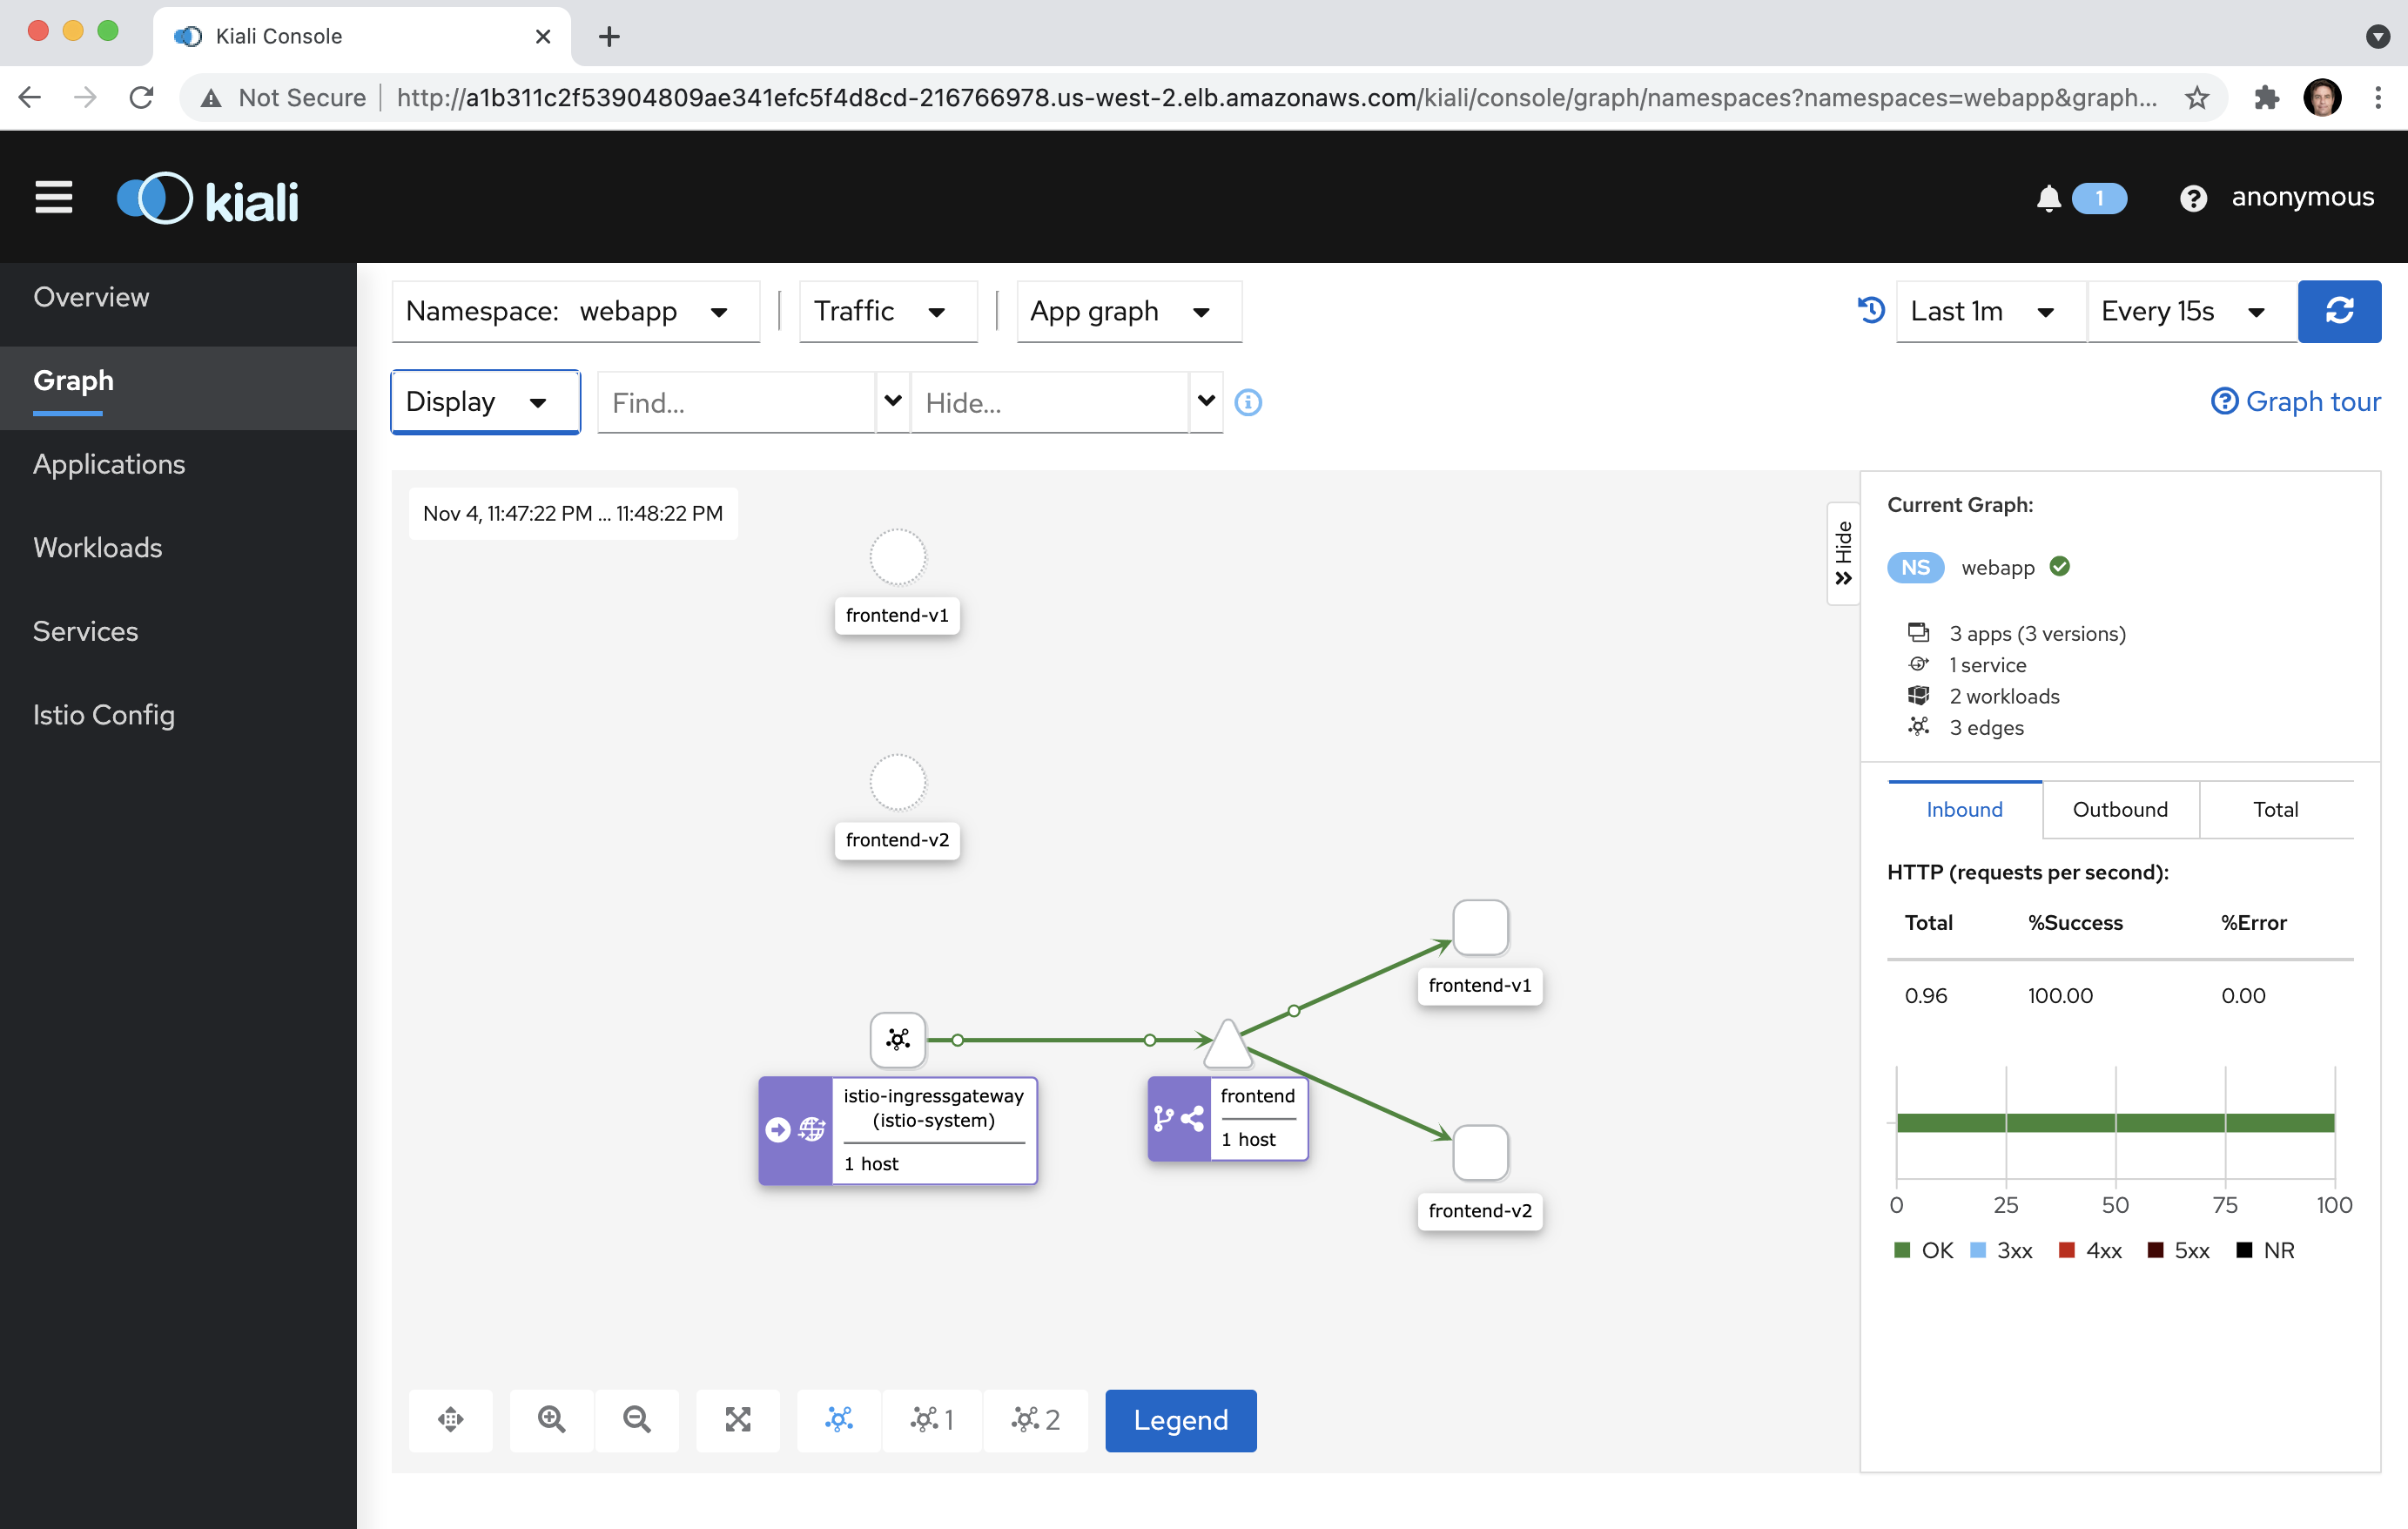
Summary
In this Lab Step, you learned how to install Istio into the EKS cluster. Next, you learned how to deploy a sample web app, provided in 2 versions, V1 and V2. You then configured Istio-based Traffic Routing to equally (50/50) distribute traffic across both versions of the sample web app. The Traffic Routing configuration was then modified to redistribute the traffic using an 80/20 split. Finally, you installed Kiali to examine and monitor the traffic flows within the Istio service mesh for the sample web application and confirmed that traffic was being distributed across versions V1 and V2 based on the applied policies.




Leave a Reply